Qwen Image 3.0 Tutorial: Complete Step-by-Step Guide (2026)
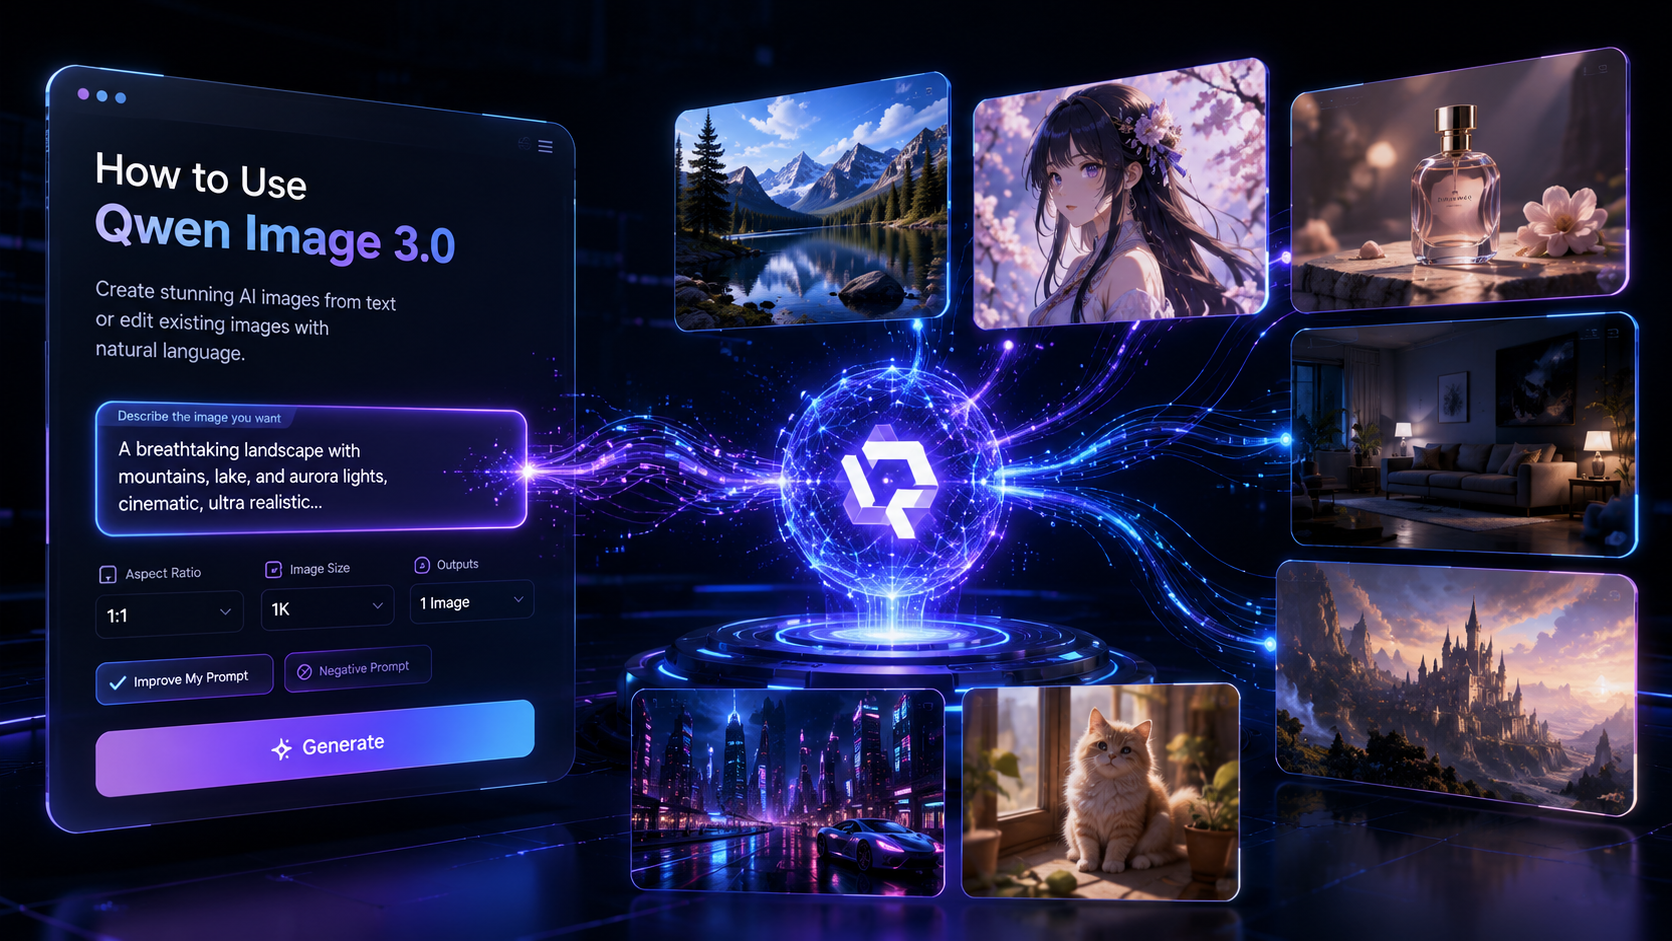
Creating professional AI images no longer requires advanced design skills or complicated software. With Qwen Image 3.0, you can generate realistic photos, illustrations, marketing graphics, product images, and creative artwork simply by describing your ideas in natural language.
The generator is designed with a clean, beginner-friendly interface while still offering the controls experienced creators need. Whether you're creating an image from scratch or editing an existing one, the workflow remains simple and intuitive.
In this guide, you'll learn how to use every important feature in the Qwen Image 3.0 Generator, including Text to Image, Image Edit, Negative Prompt, Aspect Ratio, Image Size, Random Seed, and Improve My Prompt. You'll also discover prompt-writing best practices, common mistakes to avoid, and practical tips for producing more consistent, high-quality images.
Whether you're a content creator, designer, marketer, educator, or simply exploring AI image generation for the first time, this tutorial will help you get started quickly and improve your results with every generation.
Quick Answer
Using Qwen Image 3.0 is straightforward:
- Open the Qwen Image 3.0 Generator.
- Choose Text to Image or Image Edit.
- Enter a clear prompt describing your image.
- (Optional) Add a Negative Prompt.
- Select the Aspect Ratio.
- Choose the Image Size.
- Set the number of Outputs.
- Leave Random Seed on Automatic.
- Enable Improve My Prompt if needed.
- Generate your image and refine the prompt if necessary.
If you're editing an existing image, simply upload your reference image before entering your editing instructions.
Table of Contents
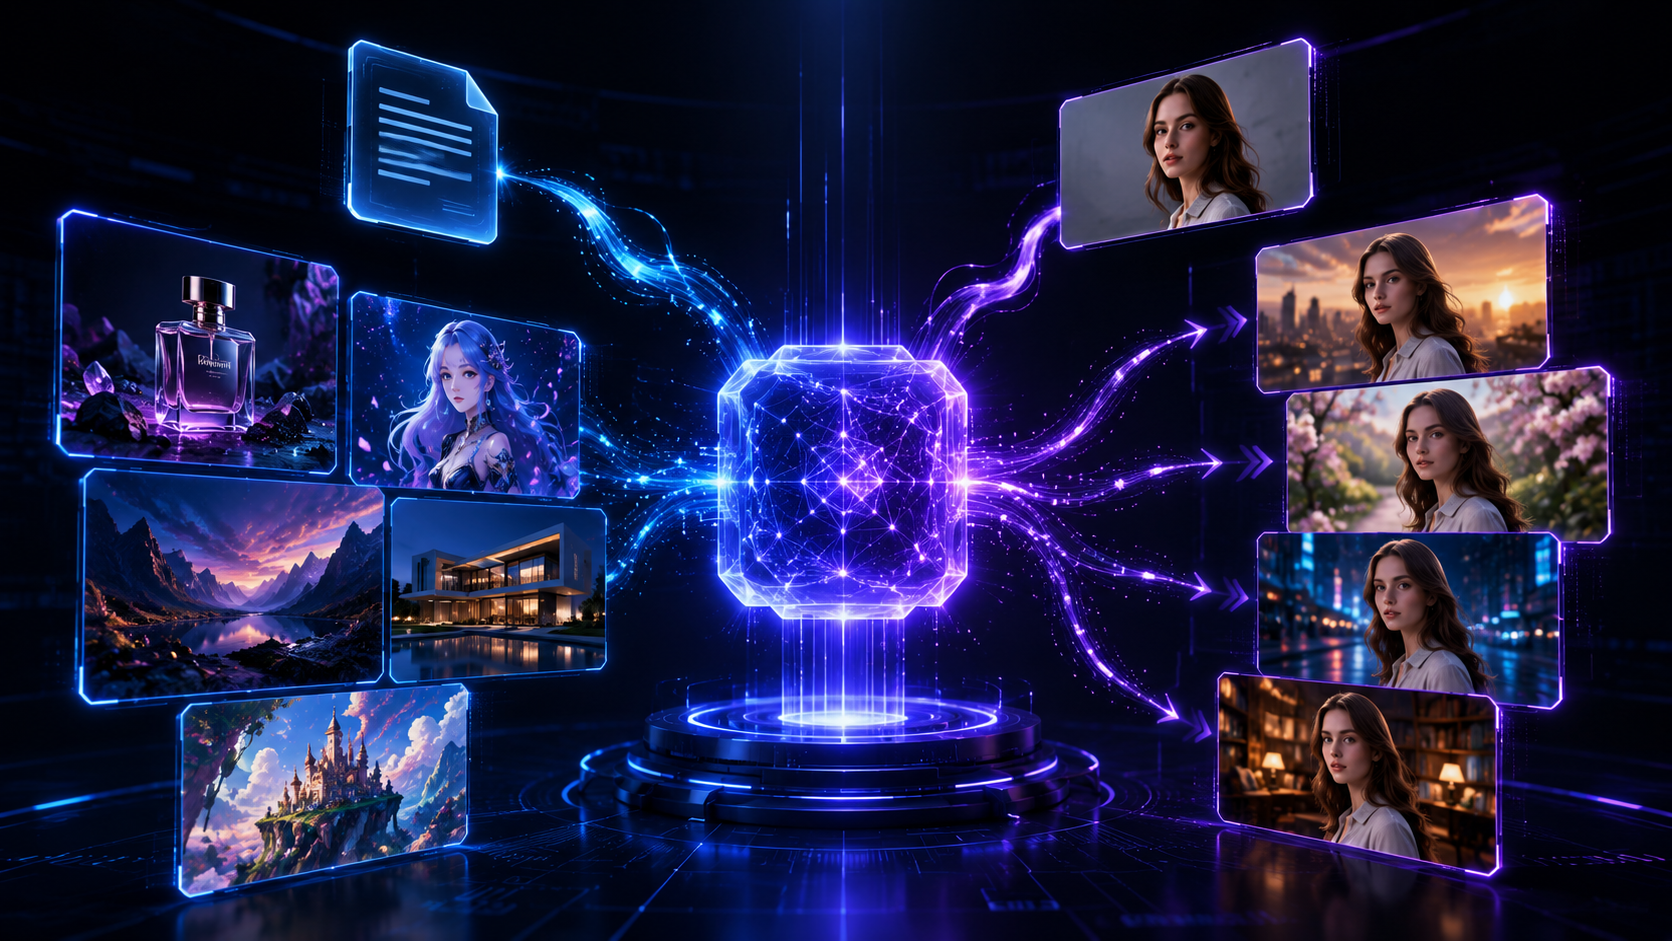
What Is Qwen Image 3.0?
Exploring other versions? The Qwen Image 2.1 overview explains its release and availability, while the illustrated Qwen Image 2.1 guide walks through transparency, reference images, and local edits. Its integration here is coming soon; this tutorial covers the available 3.0 workspace.
Qwen Image 3.0 is an AI image generation model that allows users to create original images from text prompts and edit existing images using natural language instructions.
Instead of learning complex design software or prompt syntax, users simply describe what they want to create. The model interprets these instructions and generates images that match the requested subject, style, and composition.
The generator supports two primary workflows:
Text to Image
Create completely new images from written descriptions.
This mode is suitable for:
- Product photography
- Character design
- Marketing graphics
- Posters
- Social media content
- Concept art
- Landscapes
- Illustrations
Image Edit
Upload an existing image and modify it using text instructions.
This workflow is useful for:
- Background replacement
- Product retouching
- Portrait editing
- Style transfer
- Removing unwanted objects
- Changing colors
- Updating existing visuals
Unlike traditional graphic editing software, Qwen Image 3.0 allows these changes to be described in plain language, making the editing process much more accessible.
Workspace Overview
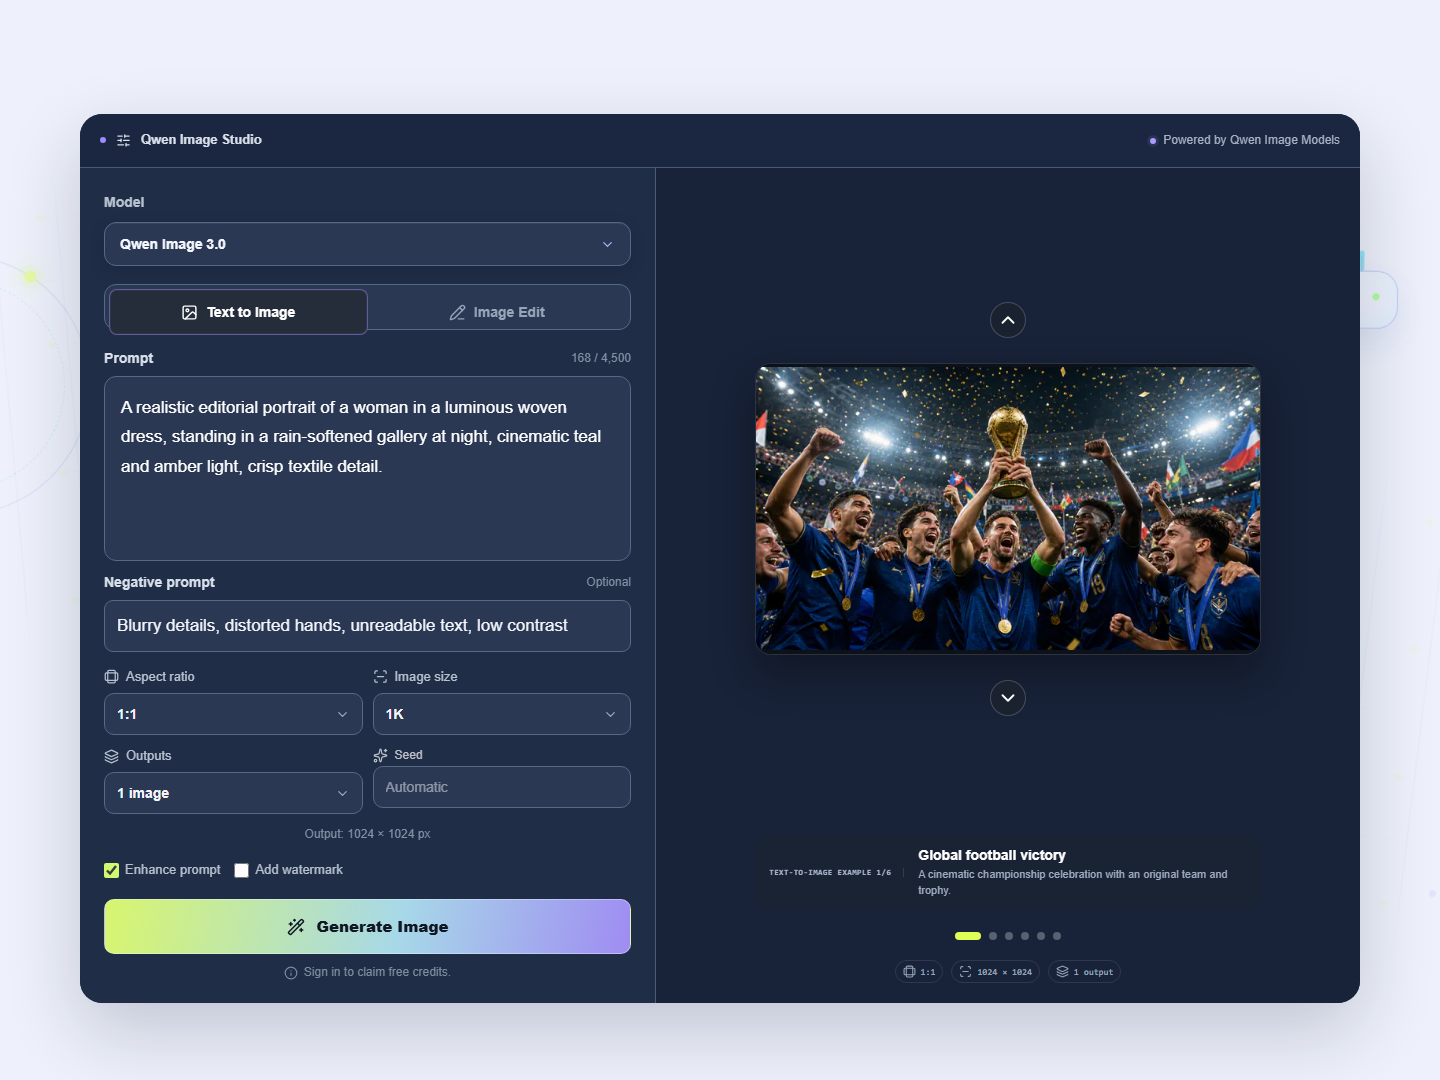
Before generating your first image, it's helpful to understand how the interface is organized.
The Qwen Image 3.0 Generator keeps every important setting on a single page, making it easy to move from writing a prompt to generating an image without switching between different menus.
The workspace consists of two main sections.
Left Panel
The left side contains all generation controls.
These include:
- Model
- Text to Image
- Image Edit
- Prompt
- Negative Prompt
- Aspect Ratio
- Image Size
- Outputs
- Random Seed
- Improve My Prompt
The Model switcher at the top of the panel lets you switch between four models: Qwen Image 3.0 and Qwen Image 3.0 Pro for premium output, Qwen Image 2.0 for fast everyday generation, and Qwen Image 2.0 Pro for finer detail.
You'll spend most of your time in this panel while preparing an image.
Right Panel
The right side displays generated images and example results.
Each time you generate an image, the results appear here, making it easy to compare different prompts and choose your favorite version.
Prompt
The Prompt box is where you describe the image you want to create.
Rather than entering only a few keywords, it's usually better to write a complete description that includes:
- The main subject
- The environment
- Lighting
- Artistic style
- Camera perspective
- Overall mood
For example, instead of writing:
A cat
Try:
A fluffy orange cat sitting beside a rainy window, soft morning light, realistic photography, shallow depth of field, warm cinematic color grading.
The additional context helps the AI better understand your idea and usually produces richer, more consistent results.
Negative Prompt
The Negative Prompt tells the model which elements should be avoided.
Common examples include:
- blurry
- low quality
- watermark
- distorted hands
- extra fingers
- cropped face
Although optional, Negative Prompts are particularly useful when generating portraits or product photography where visual accuracy is important.
Aspect Ratio
Aspect Ratio determines the shape of the generated image.
The current interface provides a 1:1 option, making it ideal for:
- Product images
- Profile pictures
- Social media posts
- E-commerce listings
Selecting the correct ratio before generating the image generally produces a better composition than cropping the image later.
Image Size
Image Size controls the output resolution.
The default 1K setting provides a good balance between generation speed and image quality for most creative projects.
Outputs
Outputs determines how many images are generated in a single request.
Generating one image is recommended while refining prompts because it's easier to compare the effect of each prompt adjustment.
Random Seed
Random Seed controls how much variation the AI introduces during generation.
Leaving this option on Automatic allows the model to create fresh variations each time you generate an image.
Improve My Prompt
Improve My Prompt automatically expands simple prompts into more descriptive instructions before generation.
If you're new to AI image generation or only have a rough idea of what you want to create, enabling this option can often produce richer and more visually detailed results.
Before You Start
Before moving on to the tutorial, remember one important principle:
Best practice: The quality of your prompt has a greater impact on the final image than any individual setting. Rather than changing multiple options at once, start with a clear description of your idea, generate an image, and refine the prompt gradually. Small improvements often lead to better results than completely rewriting your prompt after every generation.
Once you're familiar with the workspace, you're ready to create your first AI image.
How to Use Text to Image
Step 1: Open the Qwen Image 3.0 Generator
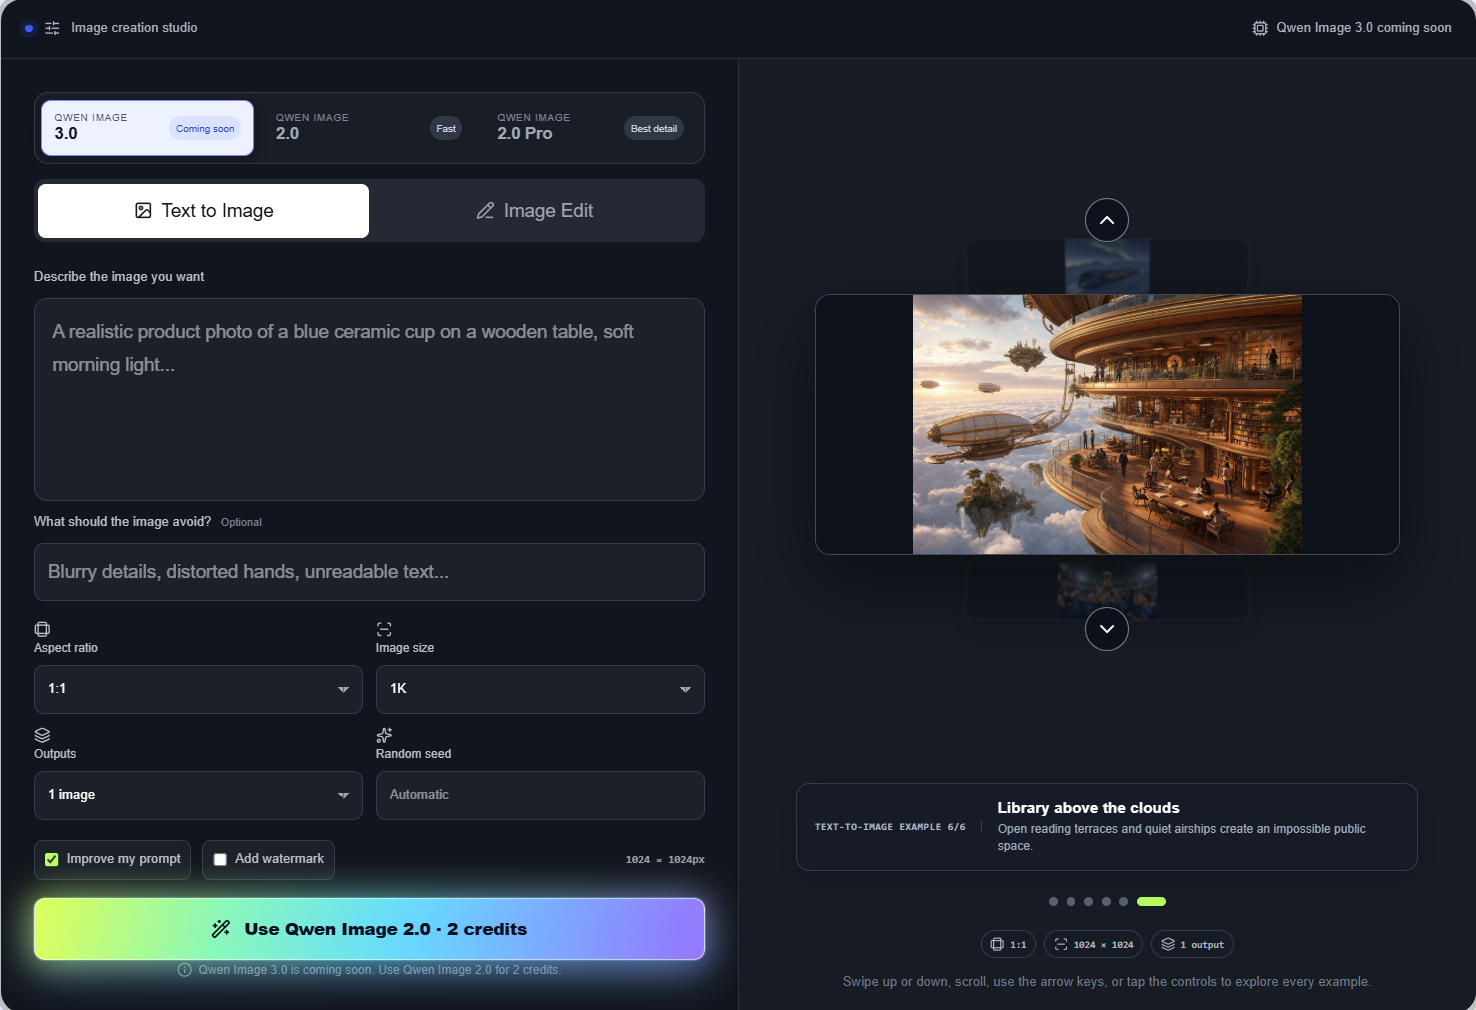
Open the Qwen Image 3.0 Generator in your browser. After the page loads, you'll see a clean workspace with all generation settings organized on the left and the image preview area on the right.
One of the biggest advantages of the interface is that everything you need is available on a single page. You don't have to navigate through multiple menus or configure complicated parameters before creating your first image.
Before generating anything, spend a few moments exploring the available controls. Understanding where each option is located will make the workflow much smoother once you begin experimenting with prompts.
Best practice: Before generating your first image, take a moment to explore the interface and understand where each setting is located. A quick overview of the workspace will make the rest of the workflow much easier.
Step 2: Choose Text to Image

Qwen Image 3.0 provides two different creation modes:
- Text to Image
- Image Edit
If you want to generate a completely new image from scratch, select Text to Image.
This is the best choice for creating:
- AI illustrations
- Product images
- Posters
- Social media graphics
- Character concepts
- Marketing visuals
- Wallpapers
- Creative artwork
Simply describe what you want to see, and the AI will generate an original image based on your instructions.
If your goal is to modify an existing image instead of creating a new one, you'll use Image Edit, which we'll cover later in this guide.
Best practice: Choose Text to Image when creating a brand-new image. If you already have a source image, switch to Image Edit for more precise modifications.
Step 3: Write Your Prompt
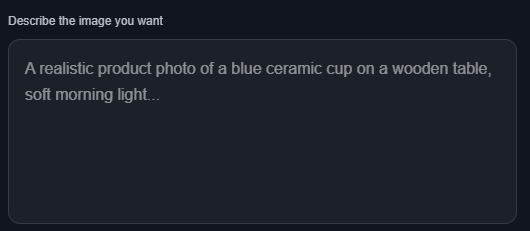
The prompt is the most important part of the entire generation process.
Think of it as giving clear creative directions to the AI. The more accurately you describe your idea, the easier it is for the model to understand what you want to create.
Instead of writing only a few keywords, try describing the complete scene.
Include information such as:
- The main subject
- The environment
- Lighting
- Visual style
- Camera angle
- Overall mood
Even adding one or two extra details can significantly improve the final result.
Prompt Formula
A simple prompt structure that works well for most images is:
Plain Text
Subject ↓ Environment ↓ Lighting ↓ Style ↓ Camera ↓ Mood
This structure helps organize your ideas and makes your prompts more descriptive without becoming overly complicated.
Copy-and-Use Prompt Template
You can use the following template as a starting point for almost any project:
Plain Text
A [subject] in [environment], illuminated by [lighting], created in [style], captured with [camera], creating a [mood] atmosphere.
Simply replace the placeholders with your own ideas.
Example 1: Portrait
Plain Text
A confident businesswoman standing in a modern office, illuminated by soft natural window light, realistic photography, eye-level portrait, creating a professional and welcoming atmosphere.
Example 2: Product Photography
Plain Text
A luxury wristwatch displayed on polished black stone, illuminated by dramatic studio lighting, premium commercial photography, close-up macro shot, creating an elegant and high-end atmosphere.
Best practice: The more specific your prompt is, the easier it is for the model to understand your creative intent. Include details about the subject, environment, lighting, style, and mood whenever possible.
Step 4: Add a Negative Prompt (Optional)

A Negative Prompt tells the AI which elements you don't want to appear in the final image.
While this field is optional, it can help reduce common visual issues and improve image quality in certain situations.
For example, when generating portraits, you might want to avoid:
- blurry details
- low quality
- watermark
- distorted hands
- extra fingers
- cropped face
For product photography, you may want to avoid:
- text
- logos
- duplicate objects
- unwanted reflections
The goal isn't to create an extremely long Negative Prompt. Instead, focus on the specific issues most likely to affect your image.
Best practice: Instead of listing dozens of unwanted elements, focus only on the issues most relevant to your image, such as blurry details, watermarks, or distorted hands.
Step 5: Choose the Aspect Ratio
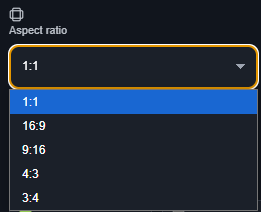
Aspect Ratio controls the shape of your generated image.
Choosing the correct ratio before generation helps the AI compose the scene more effectively.
For example:
- Square images work well for Instagram posts and product listings.
- Portrait layouts are better for posters or mobile content.
- Landscape formats are ideal for presentations, banners, and desktop wallpapers.
If your workflow mainly targets social media or e-commerce, selecting the correct aspect ratio from the beginning usually produces better framing than cropping the image afterward.
Best practice: Choose the final aspect ratio before generating your image. Cropping afterward may remove important parts of the composition and affect the overall visual balance.
Step 6: Choose the Image Size
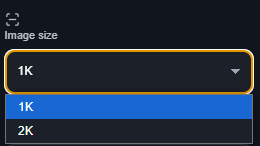
Image Size determines the resolution of the generated image.
Higher resolutions generally contain more visual detail, but they may also take longer to generate.
For everyday content creation, the default setting provides an excellent balance between quality and generation speed.
Rather than immediately increasing the resolution, it's usually more effective to first improve your prompt and composition.
Once you're satisfied with the overall design, you can generate the image again at a higher resolution if needed.
Best practice: Use the default image size while testing prompts. Once you're satisfied with the composition, continue refining the prompt instead of changing multiple settings simultaneously.
Step 7: Select the Number of Outputs
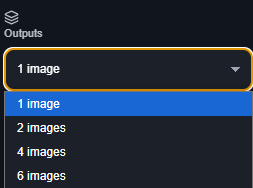
The Outputs option controls how many image variations Qwen Image 3.0 generates in a single request.
Generating multiple images can be helpful when exploring creative ideas, comparing compositions, or selecting the strongest version for further refinement.
However, when you're still experimenting with prompts, creating a single image at a time often makes it easier to understand how each prompt adjustment affects the result. This step-by-step approach allows you to improve your prompts more efficiently instead of comparing many different variables at once.
After you've found a prompt that consistently produces good results, you can increase the number of outputs to generate several variations and choose the one that best matches your vision.
Best practice: Generate one image while refining your prompt. After finding a strong result, create additional variations only if you want to explore different compositions.
Step 8: Leave Random Seed on Automatic
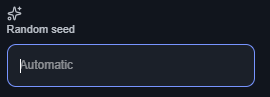
The Random Seed influences how the AI generates variations of your image.
If you're new to AI image generation, there's usually no need to adjust this setting manually. Leaving it on Automatic allows the model to introduce natural variation each time you generate an image, giving you fresh interpretations of the same prompt.
More experienced users may choose to reuse a specific seed when they want to reproduce or build upon a previous result, but for most creative workflows, the automatic setting offers the greatest flexibility.
Best practice: Keeping the Random Seed on Automatic is recommended for most users because it encourages creative variation and produces fresh results with every generation.
Step 9: Enable "Improve My Prompt"

One of the most beginner-friendly features in Qwen Image 3.0 is Improve My Prompt.
When enabled, the system automatically expands simple prompts into more descriptive instructions before sending them to the model. This can improve composition, add useful visual details, and produce richer results without requiring you to write long prompts yourself.
For example, a short prompt like:
A cat sitting on a chair.
may be expanded into a more detailed description that includes lighting, environment, composition, and artistic style.
Although experienced users may prefer writing detailed prompts manually, this feature is extremely helpful when you're still learning how prompt engineering works.
Best practice: Enable Improve My Prompt whenever you're using a short prompt or exploring a new idea. It can automatically enrich your description and often produces more detailed results.
Step 10: Generate Your Image

Once you've finished configuring your prompt and settings, you're ready to generate your image.
Before clicking the Generate button, take a few seconds to review your settings.
Before You Generate Checklist
- Prompt clearly describes the subject and scene.
- Negative Prompt includes only necessary exclusions.
- Aspect Ratio matches your intended use.
- Image Size is appropriate for testing or final output.
- Outputs are set correctly.
- Improve My Prompt is enabled if needed.
After generation, carefully examine the result. If it doesn't match your expectations, avoid rewriting the entire prompt. Instead, adjust one element at a time—such as the lighting, camera angle, or style—and generate again. Small, focused refinements usually lead to more predictable improvements.
Best practice: Don't expect the perfect image on your first attempt. Small prompt refinements usually produce better results than completely rewriting your prompt after every generation.
How to Use Image Edit
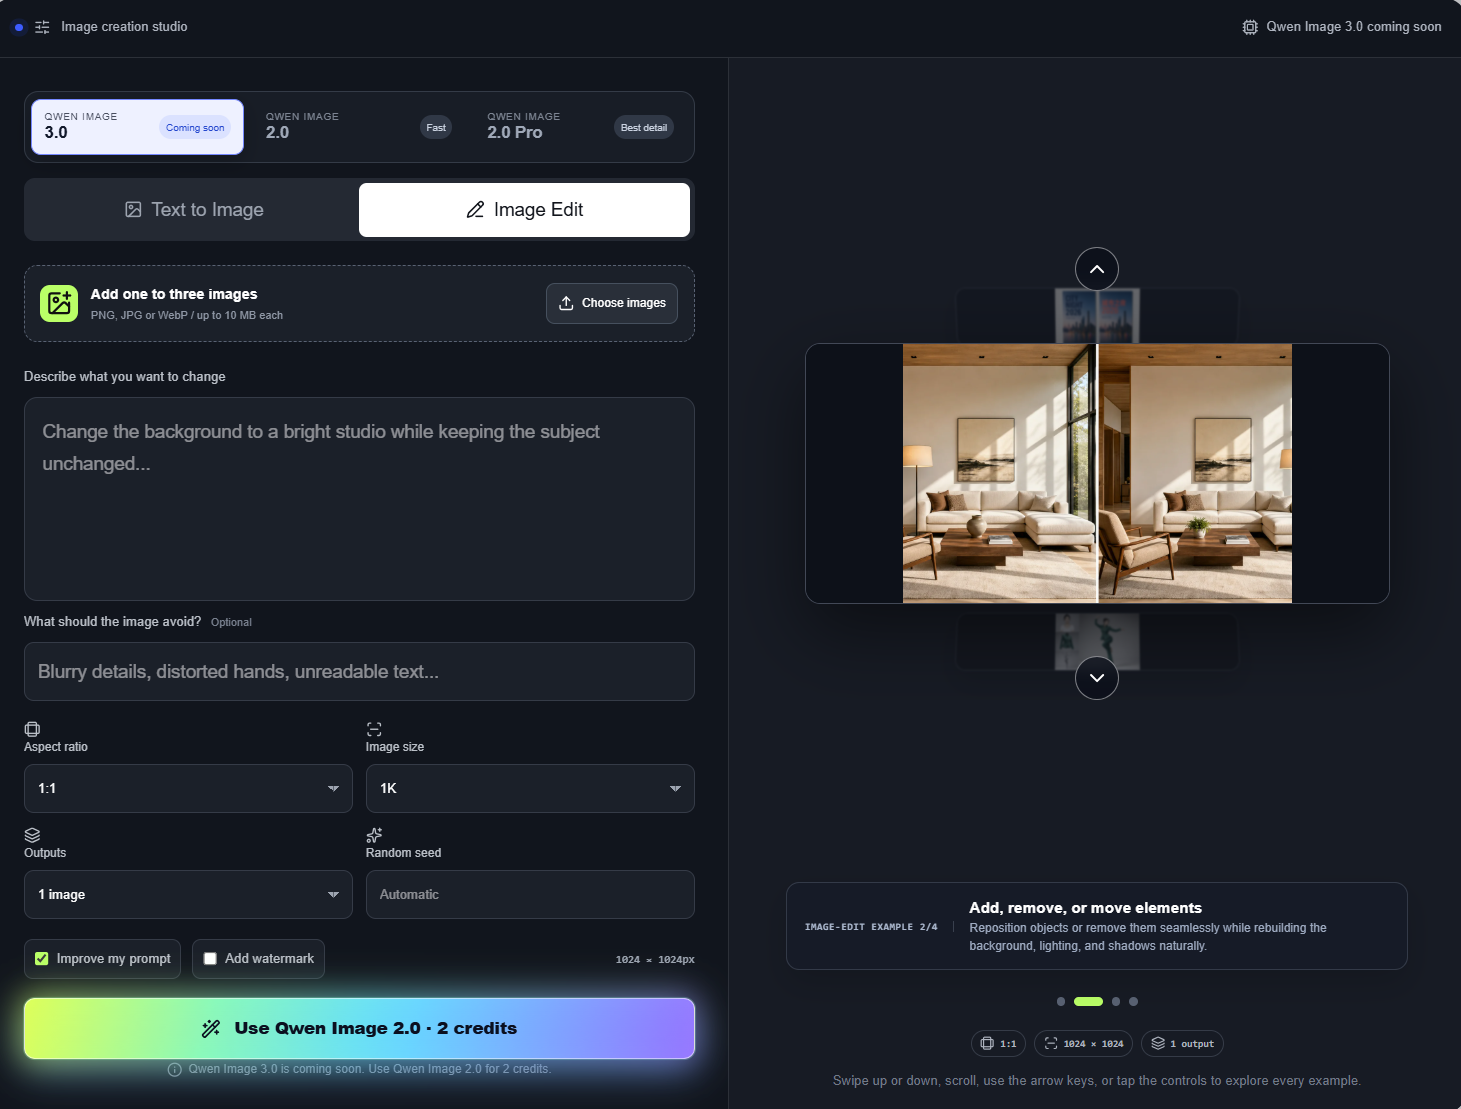
While Text to Image is ideal for creating brand-new images, Image Edit is designed for improving or modifying existing ones.
Instead of starting from a blank canvas, you provide one or more reference images and describe the changes you want to make. Qwen Image 3.0 analyzes both the uploaded images and your editing instructions to generate a new version that reflects your requested modifications.
This workflow is especially useful for:
- Changing backgrounds
- Updating product photos
- Editing portraits
- Replacing objects
- Changing colors
- Creating marketing variations
- Refreshing social media visuals
The interface is intentionally simple, making image editing accessible even if you've never used professional editing software.
Step 1: Upload Your Image

Click the Image Edit tab and upload your reference image.
Depending on the interface, you can upload up to three images, allowing you to combine multiple references in a single edit. For example, you might upload:
- A portrait photo
- A background reference
- A color or style reference
Using multiple reference images can help the model better understand the visual style or composition you're aiming for.
Choose the highest-quality images available. Clear, high-resolution source images generally lead to cleaner edits and better preservation of important details.
Best practice: Upload the highest-quality reference image available. Clear source images generally produce more accurate edits and preserve fine details more effectively.
Step 2: Describe the Changes
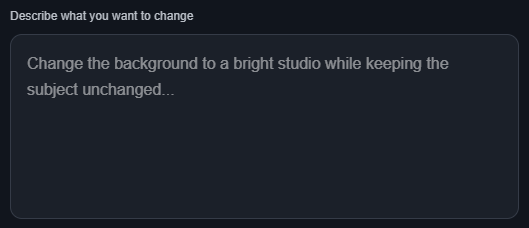
Once your image is uploaded, enter a clear editing instruction in the prompt box.
Unlike Text to Image, you don't need to describe the entire scene again. Focus only on the changes you want the model to make.
For example:
- Replace the background with a modern office.
- Change the shirt from blue to black.
- Add warm sunset lighting.
- Remove the coffee cup from the table.
- Turn this photo into a watercolor painting.
Clear, focused instructions help the model identify exactly what should be modified while leaving the rest of the image intact.
Best practice: Describe only the changes you want to make. Avoid rewriting the entire scene unless you intend to significantly transform the original image.
Step 3: Specify What Should Stay the Same

One of the easiest ways to achieve consistent editing results is to explicitly tell the model what should remain unchanged.
For example, instead of writing:
Replace the background.
You can write:
Replace the background with a modern conference room while keeping the person's face, clothing, pose, and lighting unchanged.
This additional guidance helps the model preserve the most important parts of the original image while applying only the requested modifications.
It's especially useful when editing portraits, products, or brand assets where visual consistency matters.
Best practice: Clearly mention which elements should remain unchanged, such as the subject's face, clothing, pose, colors, or lighting. This helps preserve important details during editing.
Step 4: Generate and Refine

After reviewing your editing instructions, click Generate to create the edited version.
When evaluating the result, compare it with the original image and ask yourself:
- Were the requested changes applied correctly?
- Did the important details remain unchanged?
- Does the new version still look natural?
- Is there anything else that needs refinement?
If necessary, update your editing prompt and generate another version. Small adjustments usually produce more predictable improvements than rewriting the entire instruction.
Best practice: If the first edit isn't exactly what you want, adjust your editing instruction gradually instead of making several major changes at once. Incremental refinements usually produce more consistent results.
Before & After Example
One of the easiest ways to understand Image Edit is to look at a practical example.
Before
A professional business portrait with a plain office background.
↓
Editing Prompt
Plain Text
Replace the office background with a modern conference room while keeping the person's face, clothing, pose, and facial expression unchanged. Use soft natural lighting for a clean corporate look.
After
The final image features the same person in the same pose, but the background has been transformed into a modern conference room. The facial features, clothing, and overall composition remain consistent, while the updated environment creates a more polished and professional appearance.
This example demonstrates an important principle of image editing: describe what should change, but also describe what should stay the same.
Prompt Writing Tips
Writing better prompts is the fastest way to improve your results. While Qwen Image 3.0 can interpret simple instructions, adding a little more context often leads to more accurate and visually appealing images.
1. Describe the Subject Clearly
Instead of writing:
A dog
Try:
A golden retriever sitting beside a mountain lake.
Specific subjects give the model a stronger starting point.
2. Add an Environment
Backgrounds provide context and make images feel more complete.
Examples include:
- modern office
- Japanese garden
- snowy mountain
- luxury apartment
- futuristic city
- cozy coffee shop
3. Mention the Lighting
Lighting has a major impact on the atmosphere of an image.
Examples:
- soft morning light
- golden hour
- dramatic studio lighting
- overcast daylight
- neon lighting
- candlelight
4. Choose a Visual Style
Specify the artistic direction you want.
For example:
- realistic photography
- cinematic
- anime
- watercolor
- oil painting
- pixel art
- 3D render
- minimalist illustration
5. Refine One Change at a Time
When improving a prompt, modify only one element—such as the lighting, camera angle, or style—between generations.
This makes it much easier to understand which adjustment improved the result.
6. Use Negative Prompts Only When Necessary
Negative Prompts are helpful, but they don't need to be extremely long.
Only include elements that are likely to cause problems for your specific image.
Common Mistakes to Avoid
Even experienced creators occasionally encounter disappointing results. Most issues come from prompt design rather than the model itself.
Writing Extremely Short Prompts
Very short prompts often produce generic images with limited detail.
Instead of:
A city
Write:
A futuristic city skyline at sunset with flying vehicles, reflective glass buildings, and cinematic lighting.
Forgetting the Environment
A subject without context often feels incomplete.
Adding a background or location usually creates more engaging compositions.
Ignoring Lighting
Lighting influences realism, mood, and visual quality.
Including lighting information is one of the easiest ways to improve image quality.
Making Negative Prompts Too Long
Adding dozens of exclusions doesn't necessarily improve the result.
Focus only on the problems most relevant to your image.
Changing Too Many Things at Once
If you completely rewrite your prompt after every generation, it becomes difficult to understand which changes actually improved the image.
Adjust one element at a time for more predictable results.
Expecting Perfect Results Immediately
AI image generation is an iterative creative process.
Professional creators often refine their prompts several times before achieving the final image they want.
Treat each generation as feedback, and use it to improve your next prompt.
Frequently Asked Questions
Q1: How do I use Qwen Image 3.0?
Open the generator, choose Text to Image or Image Edit, write your prompt, adjust the available settings, and click Generate. If the result isn't what you expected, refine your prompt and try again.
Q2: What is the difference between Text to Image and Image Edit?
Text to Image creates a brand-new image from a written description. Image Edit modifies an existing image while preserving selected visual elements from the original.
Q3: How many images can I upload for Image Edit?
The interface supports uploading up to three reference images, allowing you to combine different visual references in a single editing task.
Q4: What does "Improve My Prompt" do?
It automatically expands short prompts into more descriptive instructions, often improving composition, detail, and overall image quality.
Q5: What is Random Seed?
Random Seed controls how image variations are generated. Leaving it on Automatic is recommended for most users because it produces fresh creative results each time.
Q6: Why are my images different every time?
AI image generation contains an element of randomness. Even with the same prompt, small variations in composition, lighting, or details are normal and often desirable when exploring creative ideas.
Q7: Should I always use a Negative Prompt?
Not necessarily. Many prompts work well without one. Use a Negative Prompt only when you want to avoid specific issues, such as blurry details, watermarks, distorted hands, or unwanted objects.
Q8: How can I improve image quality?
Start with a detailed prompt, describe the subject, environment, lighting, and style clearly, and refine your prompt gradually. In most cases, improving the prompt has a greater impact on the final result than changing generation settings.
Start Creating with Qwen Image 3.0
Now that you've learned the complete Qwen Image 3.0 workflow, it's time to put these techniques into practice.
Start with a simple prompt, experiment with different environments, lighting, and visual styles, and refine your prompts one step at a time. Whether you're generating original artwork or editing existing images, consistent experimentation will help you achieve better results.
As you become more familiar with the interface, you'll develop your own prompt-writing style and discover which techniques work best for your creative projects.
Open the Qwen Image 3.0 Generator, apply the best practices from this guide, and start creating your next AI image with confidence.
Open the Qwen Image 3.0 GeneratorNote: This guide documents the Qwen Image 3.0 generator workflow described in the official guide. AI image generation is a fast-moving field — always verify current capabilities against the live interface and your own generation results.