Meet Qwen-Image-2.1: Native 2K Editing, Smarter Image Generation
A closer look at the images, edits, and creative workflows behind Qwen Image 2.1—from transparent artwork to scenes built from multiple references.
What is Qwen Image 2.1?
Qwen Image 2.1 is an image model from the Qwen team that handles both creation and editing. You can begin with words, introduce reference images, and then refine the visual direction within the same model family.
The official release documents native 2K output, RGBA transparency, up to 10 reference images, and local edits guided by annotations or masks. Its visual generation component has 7 billion parameters. These are model capabilities; any hosted tool may expose a narrower set of controls.
- Core workflow
- Text-to-image generation and image editing
- Image output
- Native 2K, including regular and transparent images
- Reference inputs
- Up to 10 images in the official implementation
- Official release
- Code and model weights available
- On this website
- Coming soon; the shared studio offers other available models
The useful question is what those capabilities let you change in a real composition. The examples below show different kinds of decisions: isolating a subject, combining references, targeting a small region, or maintaining a recognizable person across several scenes.
Native transparency: images that become design elements
A transparent image is more than a picture with a plain background. Its alpha channel describes which parts remain visible when placed over another surface. That makes the result useful as an element inside a larger layout, rather than as a complete rectangular composition.



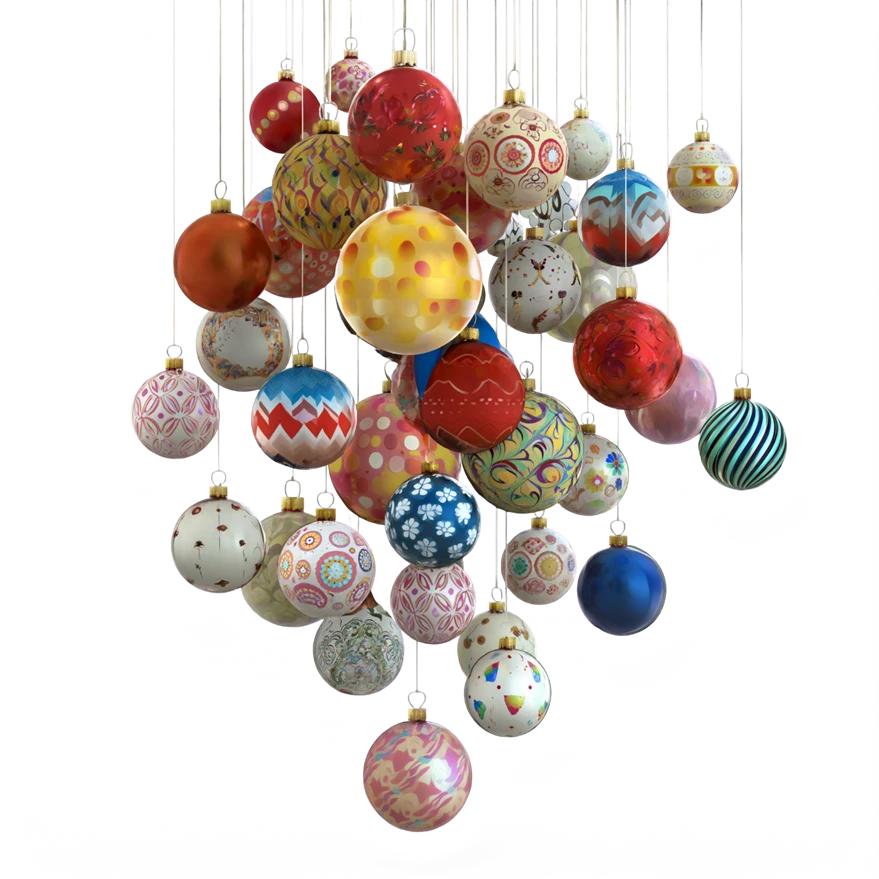
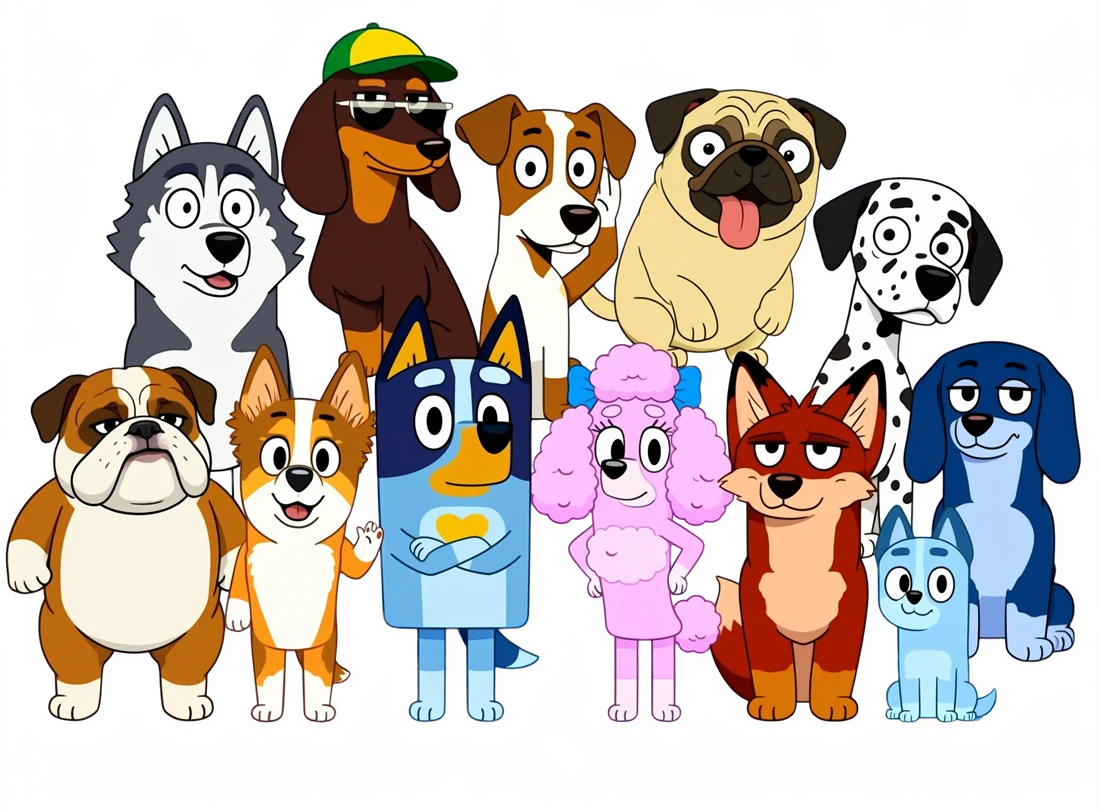
These supplied examples show three different uses: a compact mascot, a portrait surrounded by foliage, and a character at a desk. Each needs a different kind of edge treatment. Fine leaves and hair deserve close inspection, while simpler illustration outlines should stay clean when scaled down.
Edit lettering inside an existing design
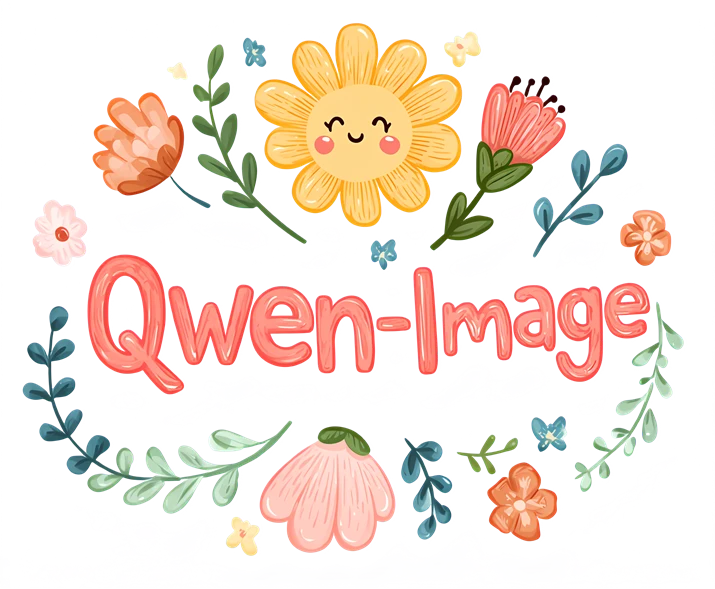
The floral lettering example changes the central word while keeping the surrounding illustration recognizable. For this type of edit, quote the replacement copy and say which colors, decorations, and spacing should remain. Inspect every letter after generation.

Extract an element from a photograph
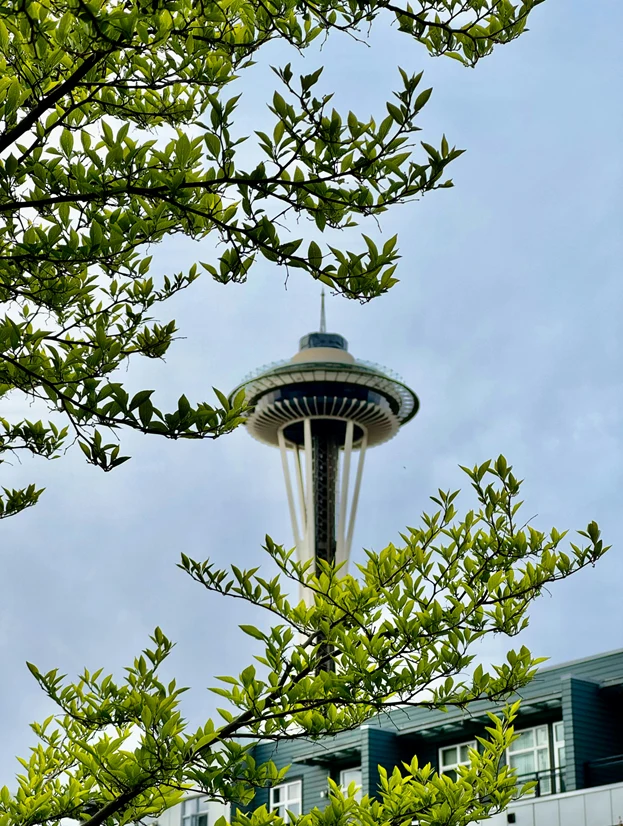
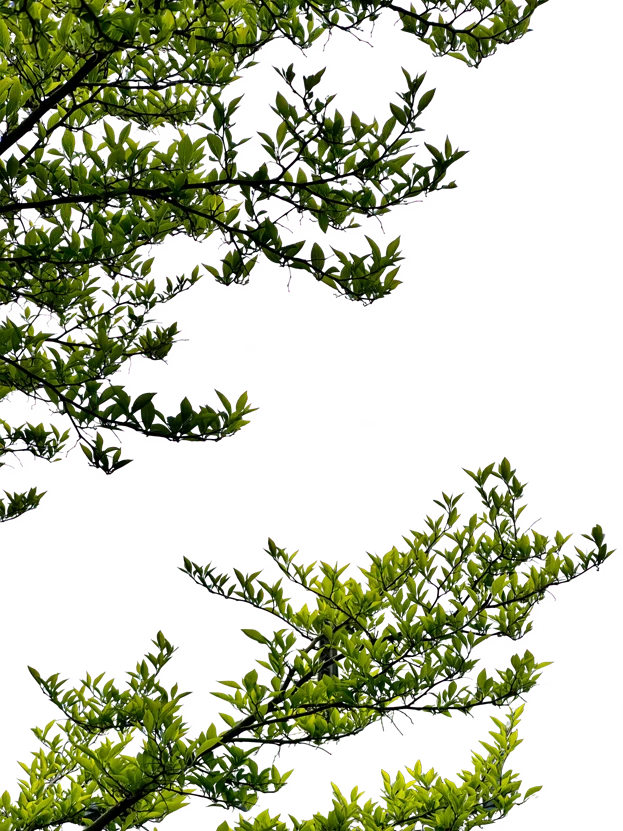
Here, the foliage becomes a separate visual element. View an extracted layer against both light and dark backgrounds to spot gaps, leftover background pixels, or softened edges before placing it into a new design.
Bring separate references into one coherent scene
A reference can communicate details that are hard to describe precisely: the cut of a jacket, a familiar face, the silhouette of a chair, or the shape of a bag. Combining references is most useful when each image has a clear role.
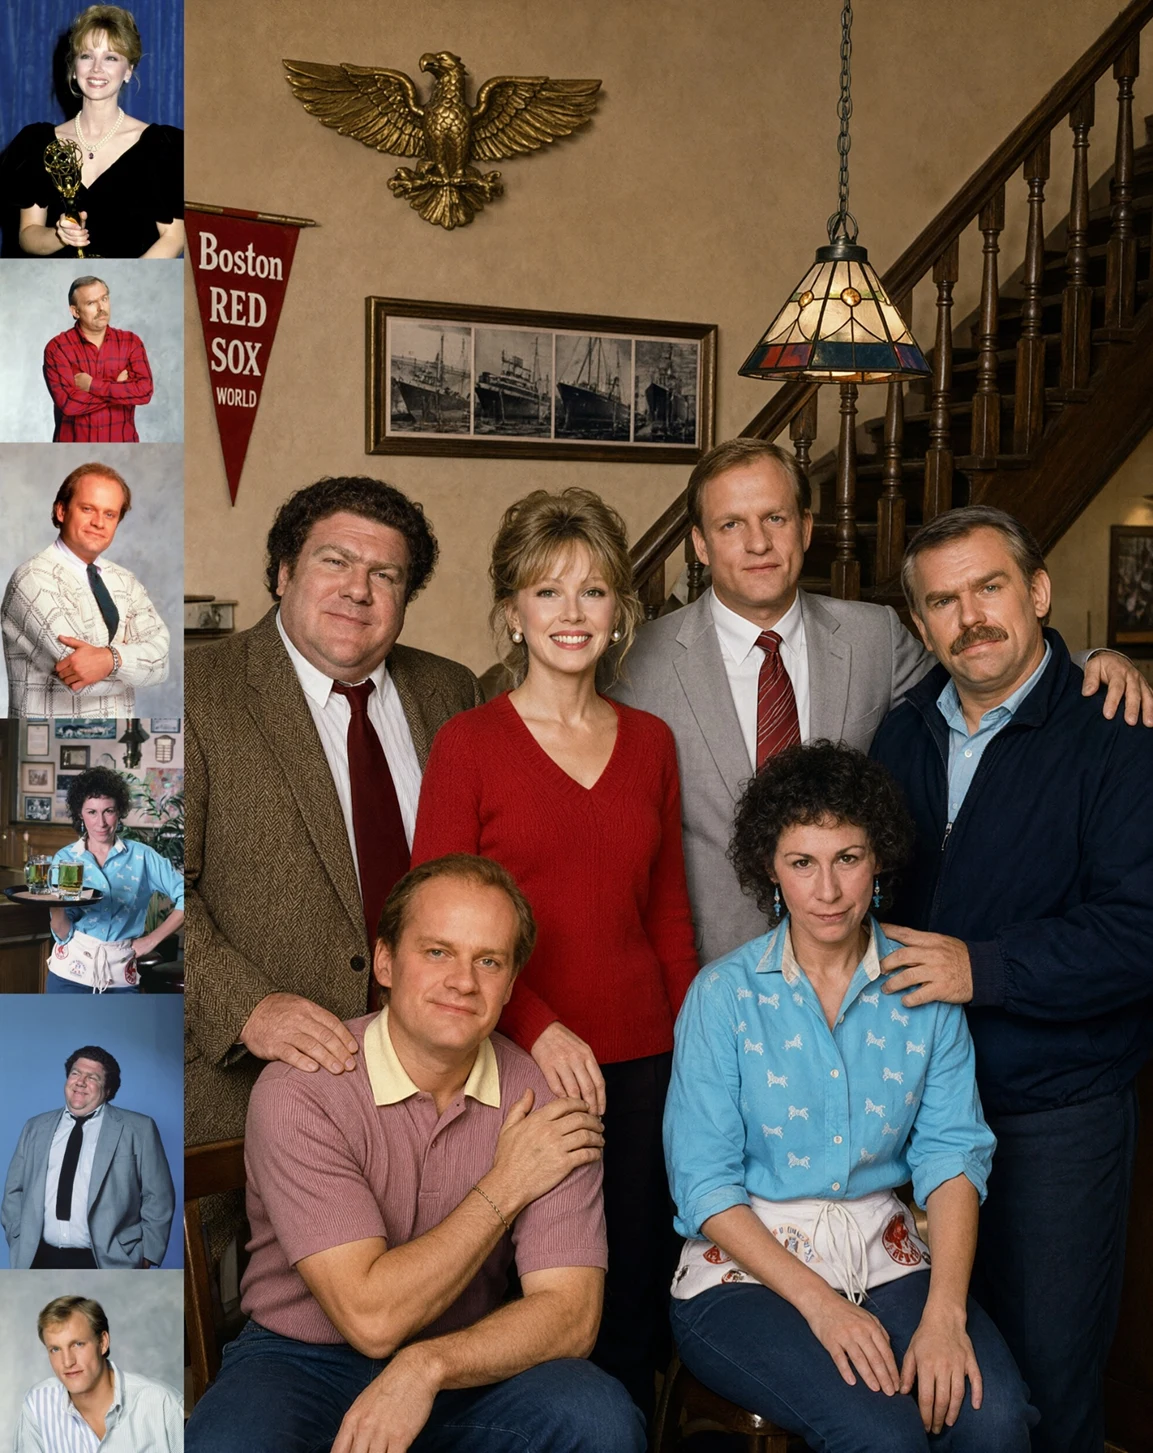
In the group portrait example, the challenge is not simply adding more people. Each person must fit the camera angle, lighting, and available space. A useful brief describes the arrangement as well as the subjects: who stands, who sits, and where the camera should be.
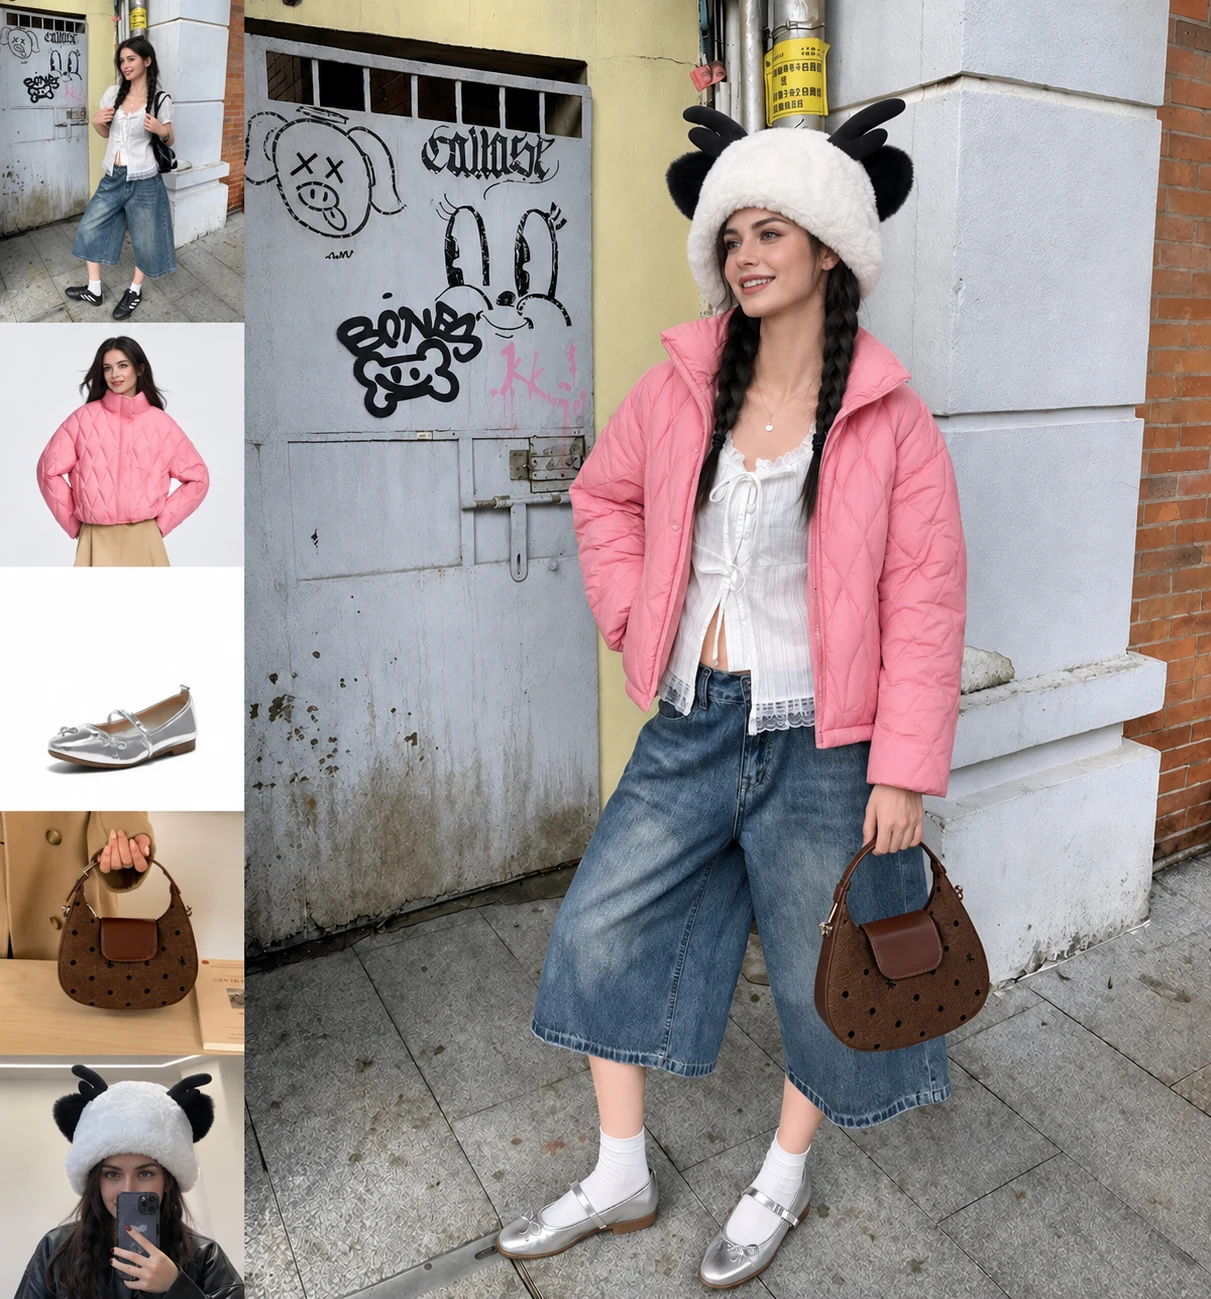
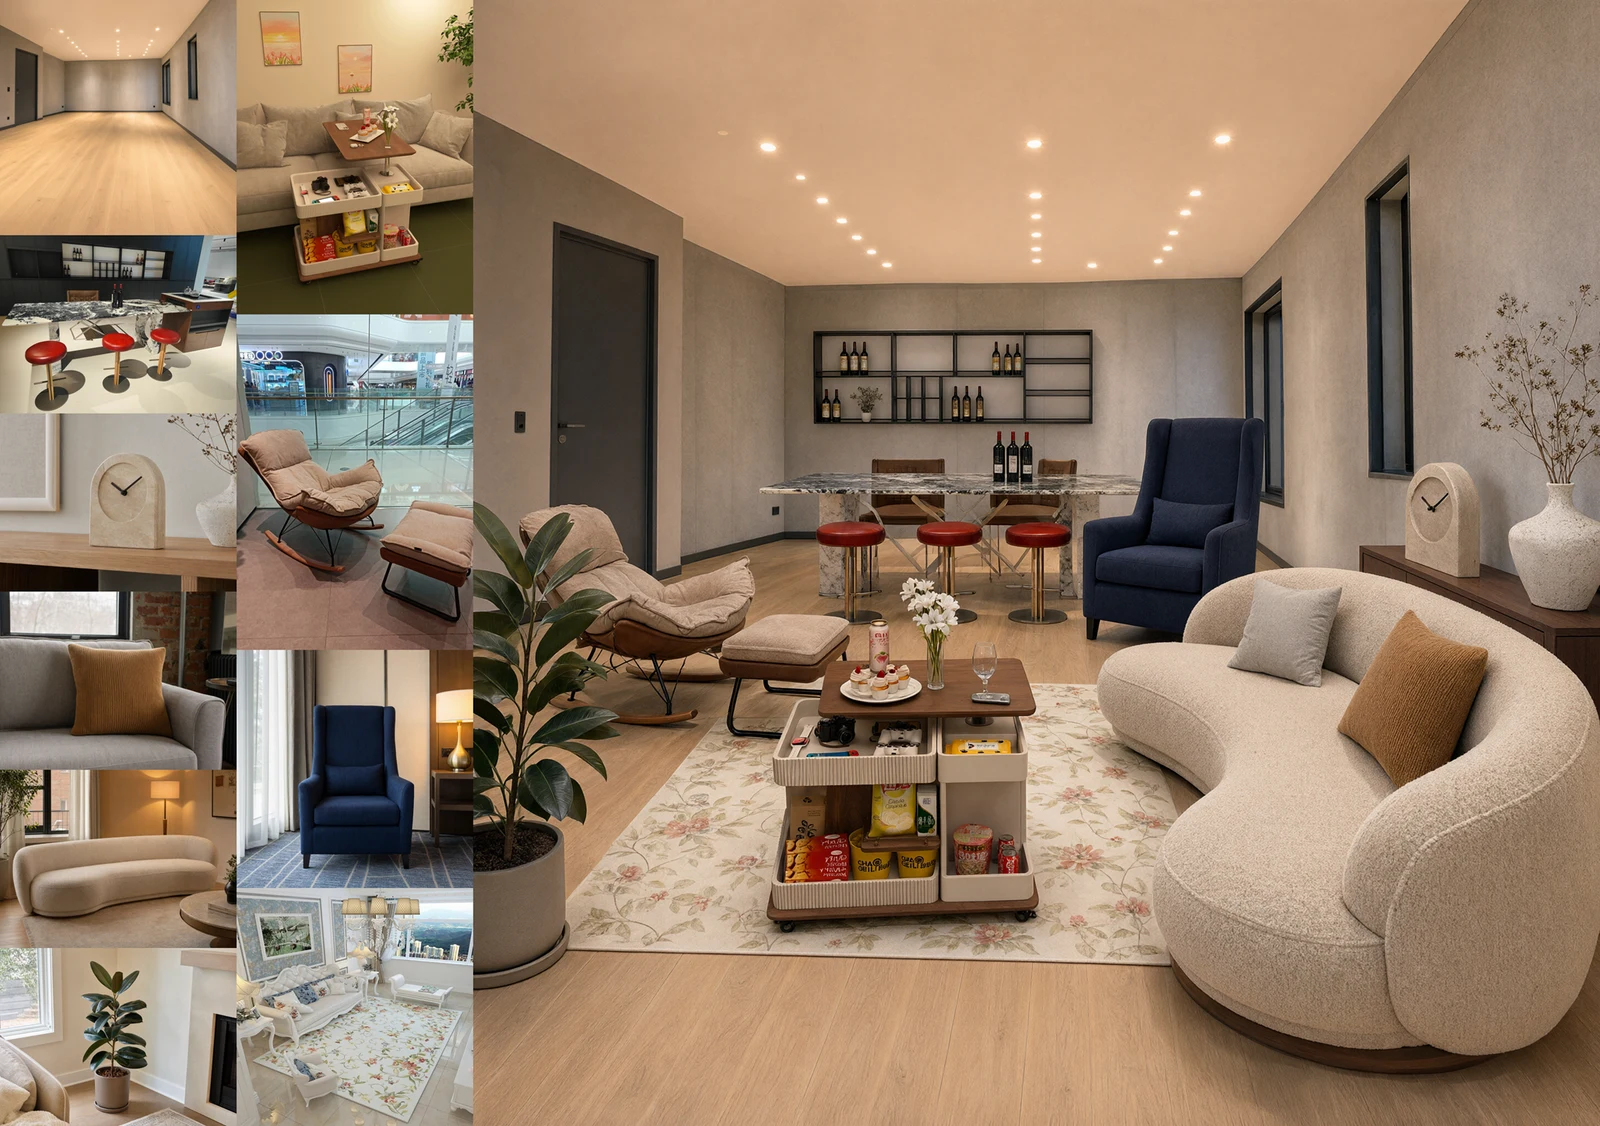
For an outfit study, identify the source of each item and distinguish the clothing to replace from the features to preserve. The room example at the top of this article uses the same idea at a larger scale: the room supplies the structure, while the furniture images supply the pieces.
Local editing: say what changes and what stays
A strong editing instruction has two parts: the change you want and the visual information you want to keep. Annotations help make the target concrete when several regions need different treatments.
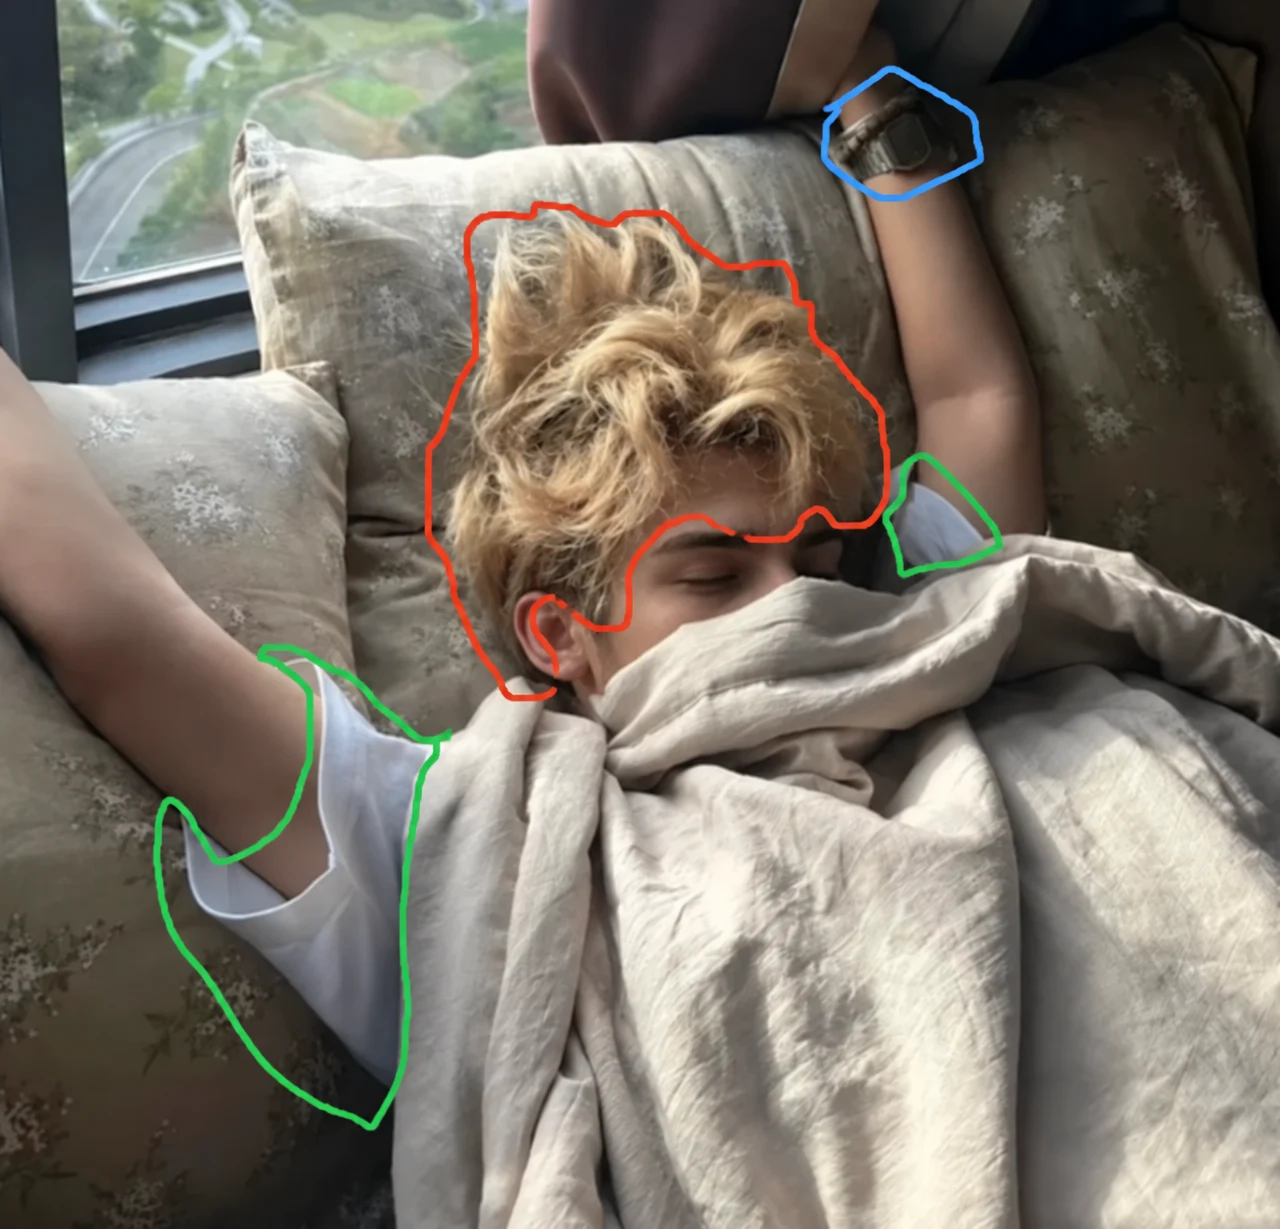
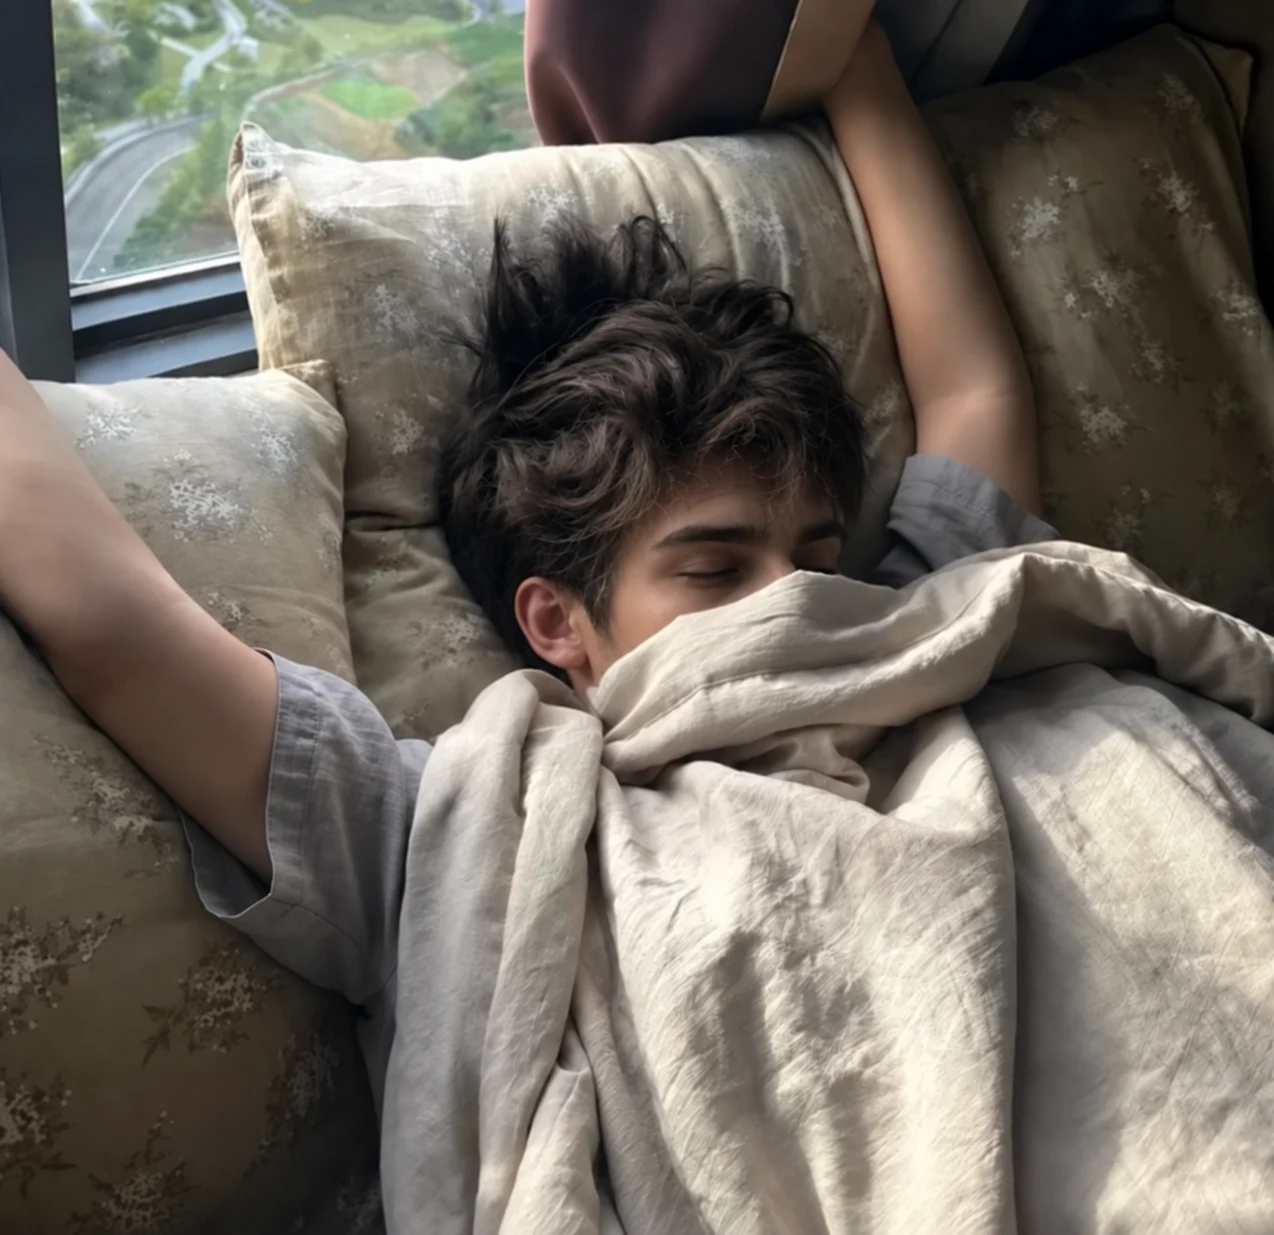
The marked portrait illustrates several changes in one scene. Compare the surrounding cushions, pose, and lighting as carefully as the requested changes. A convincing local edit should still belong to the original photograph.
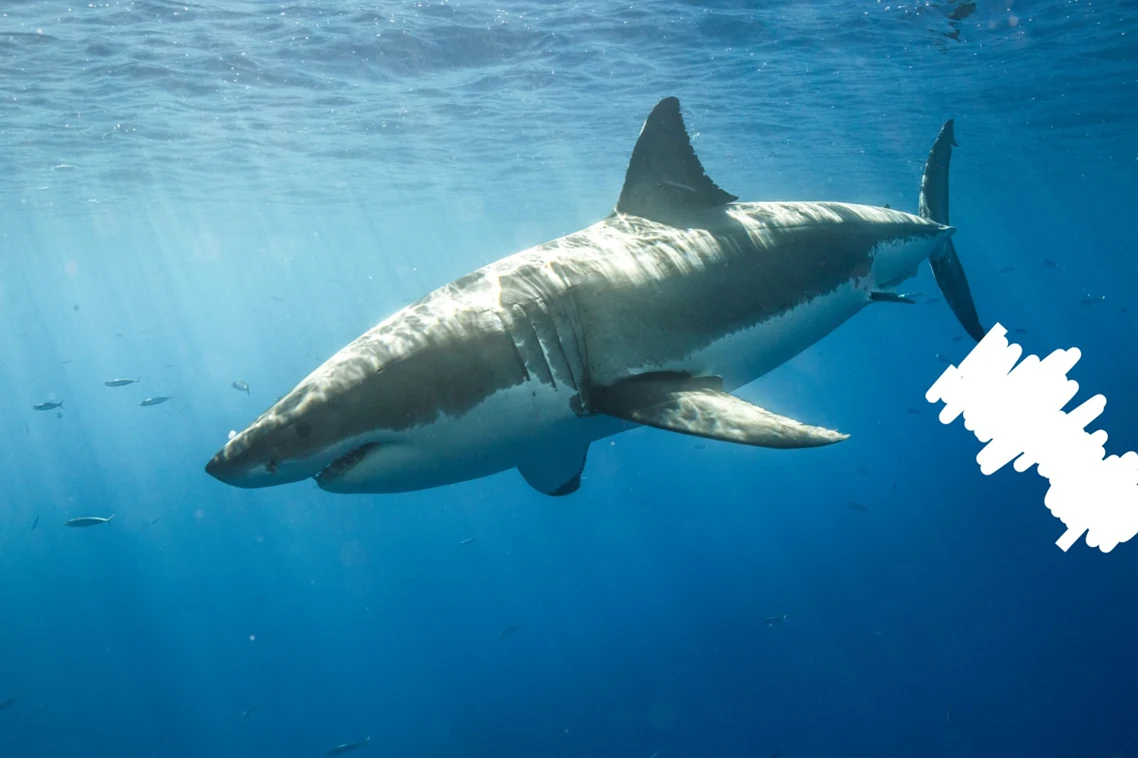

Use a mask to describe placement

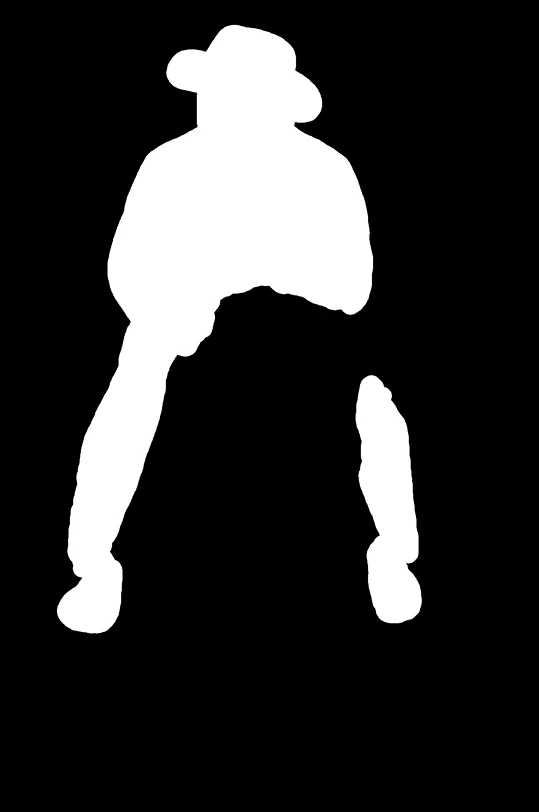
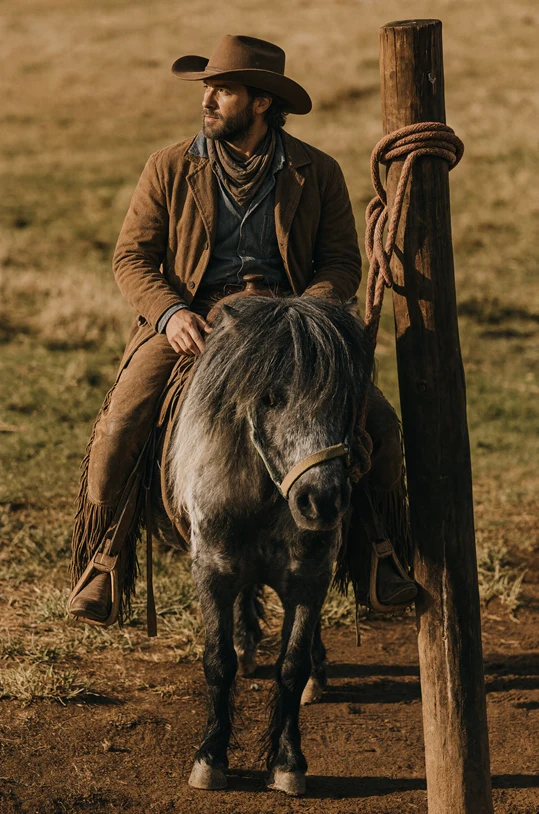
The separate mask sketches the intended location of a new subject. It is especially helpful for communicating position and scale. The resulting image still needs plausible contact, shadows, and perspective; a mask alone does not guarantee those relationships.
Keep people and products recognizable
Reference-based editing gives you a visual anchor when exploring a new setting or look. In these portrait examples, the creative changes range from a different camera distance to a hairstyle or scene change.
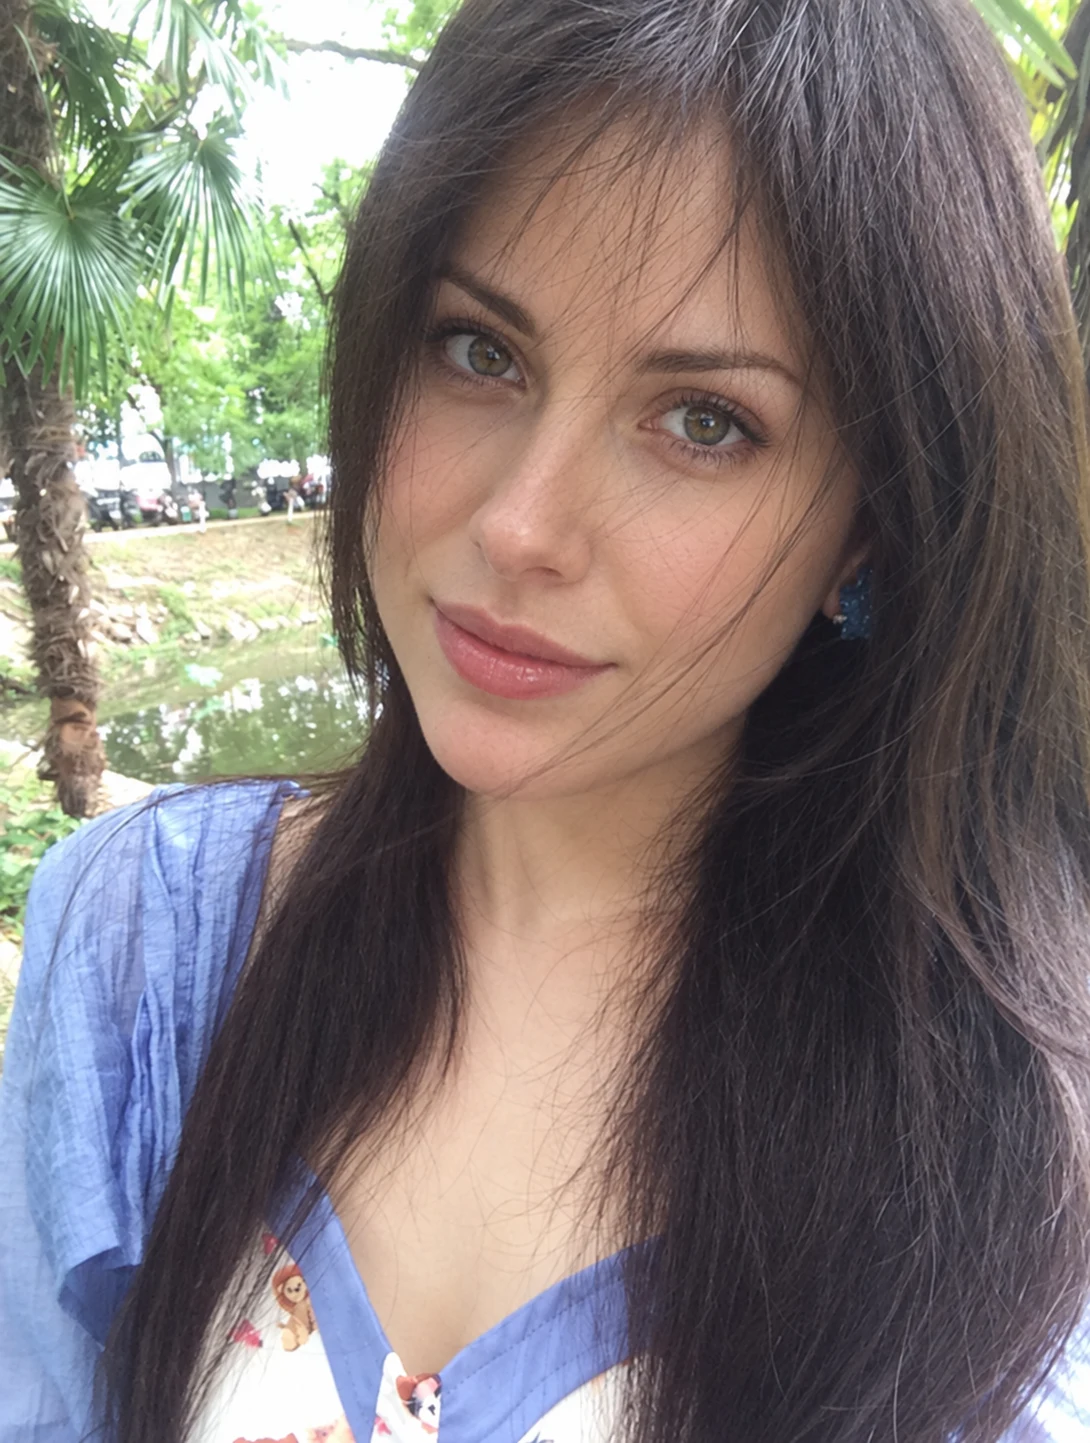
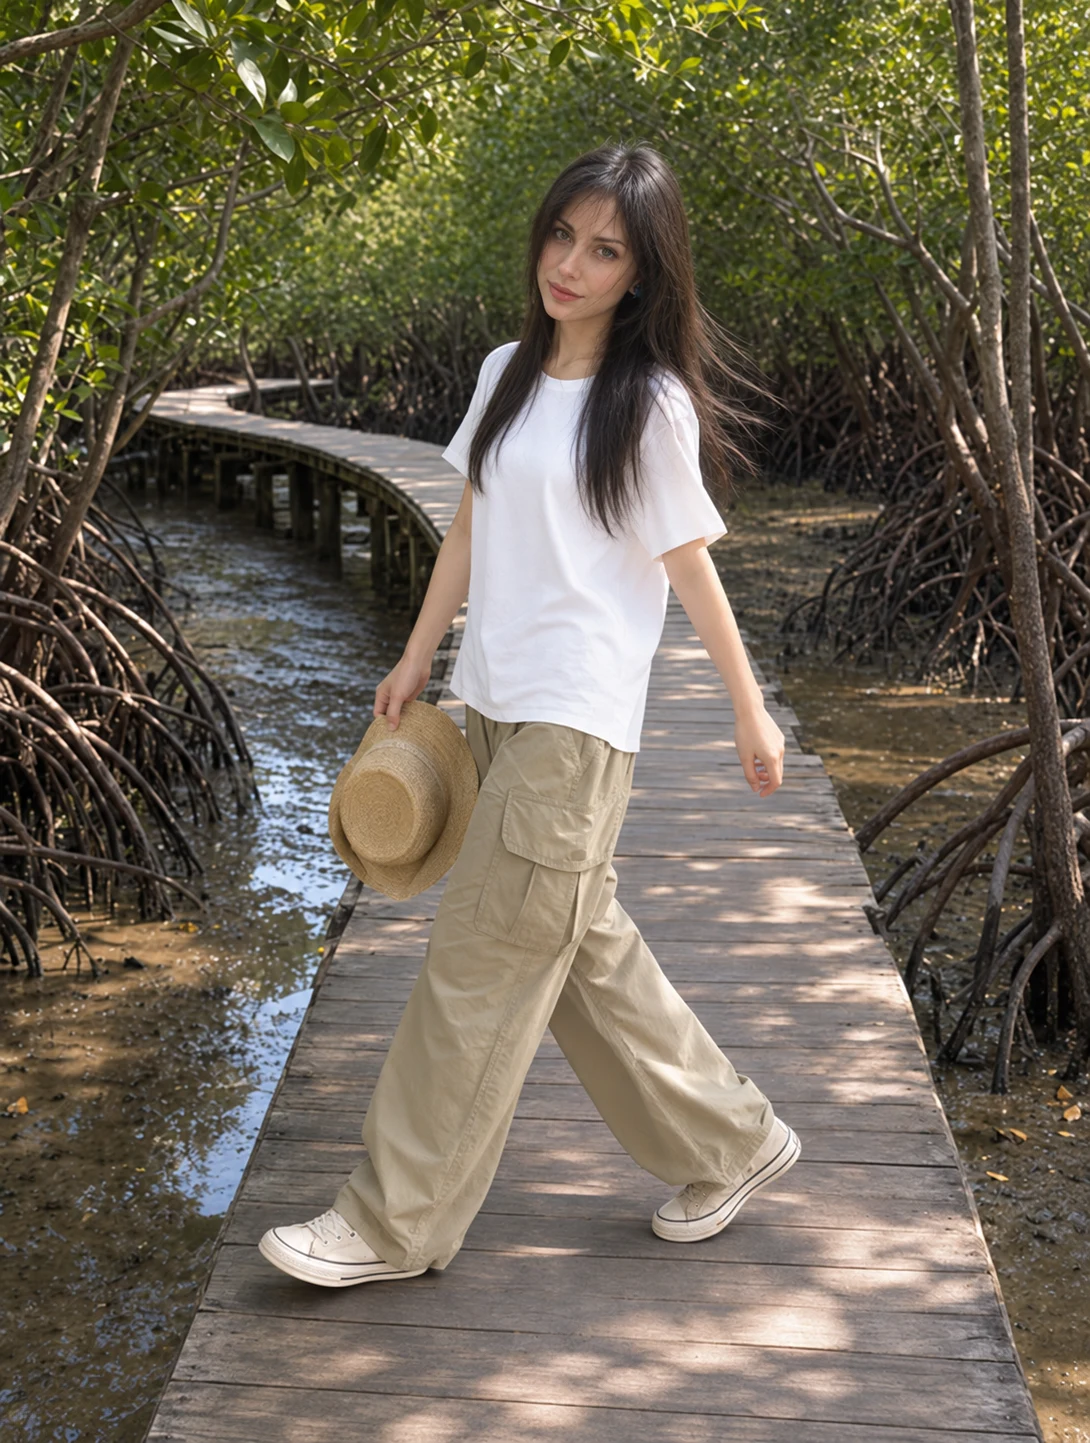
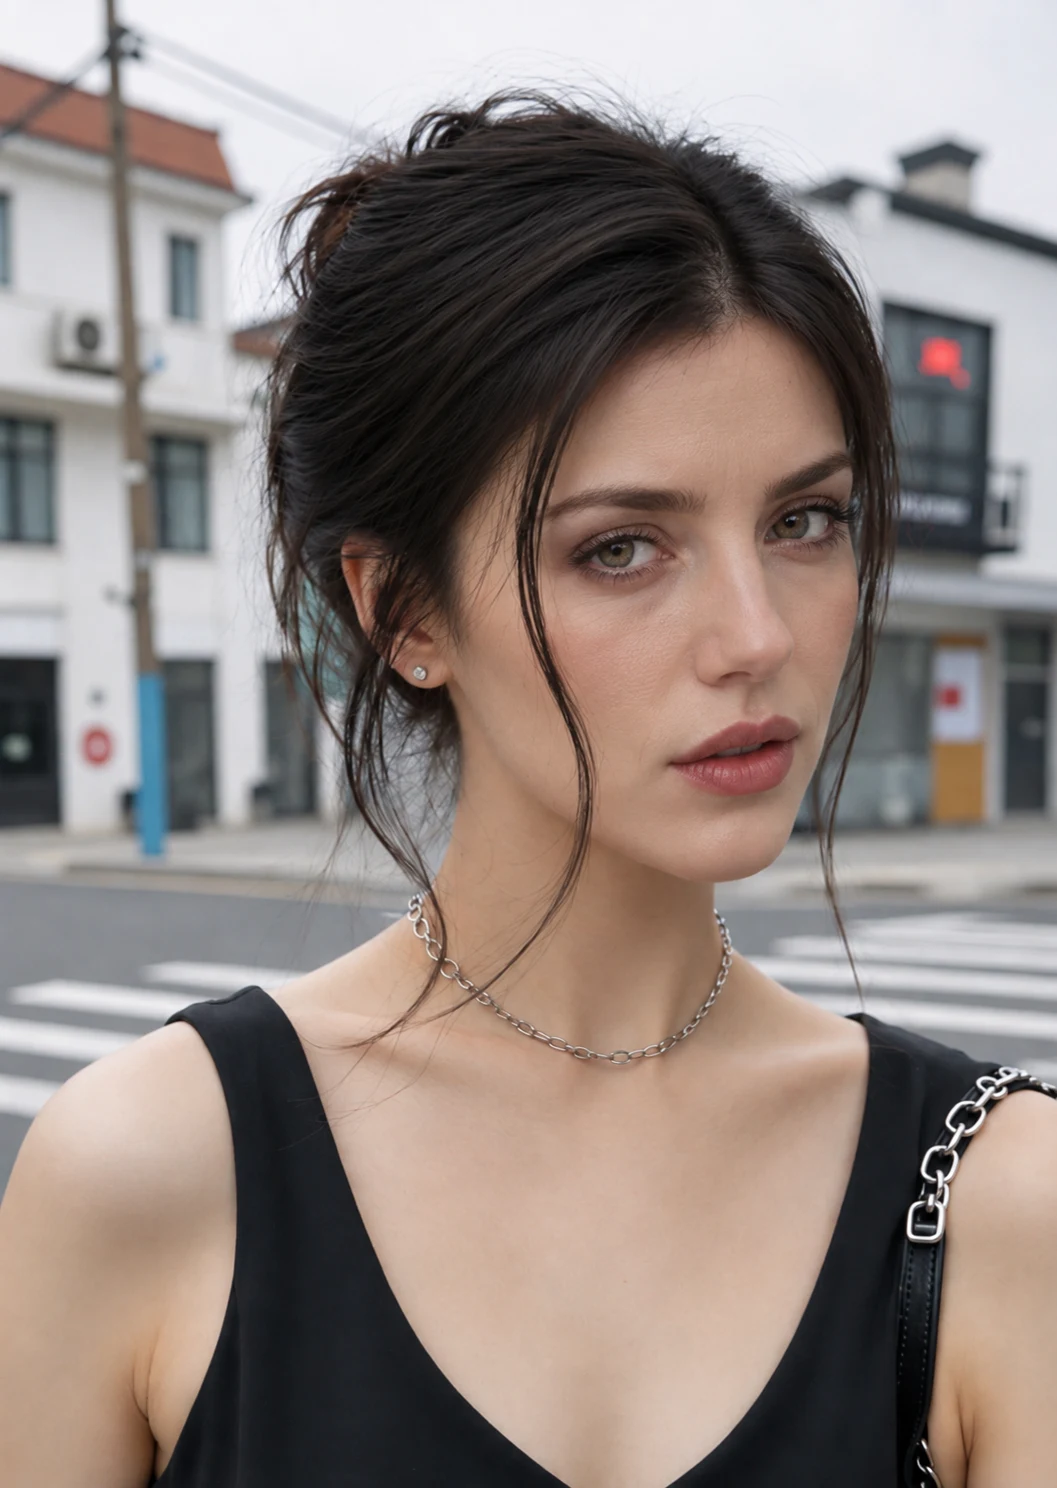
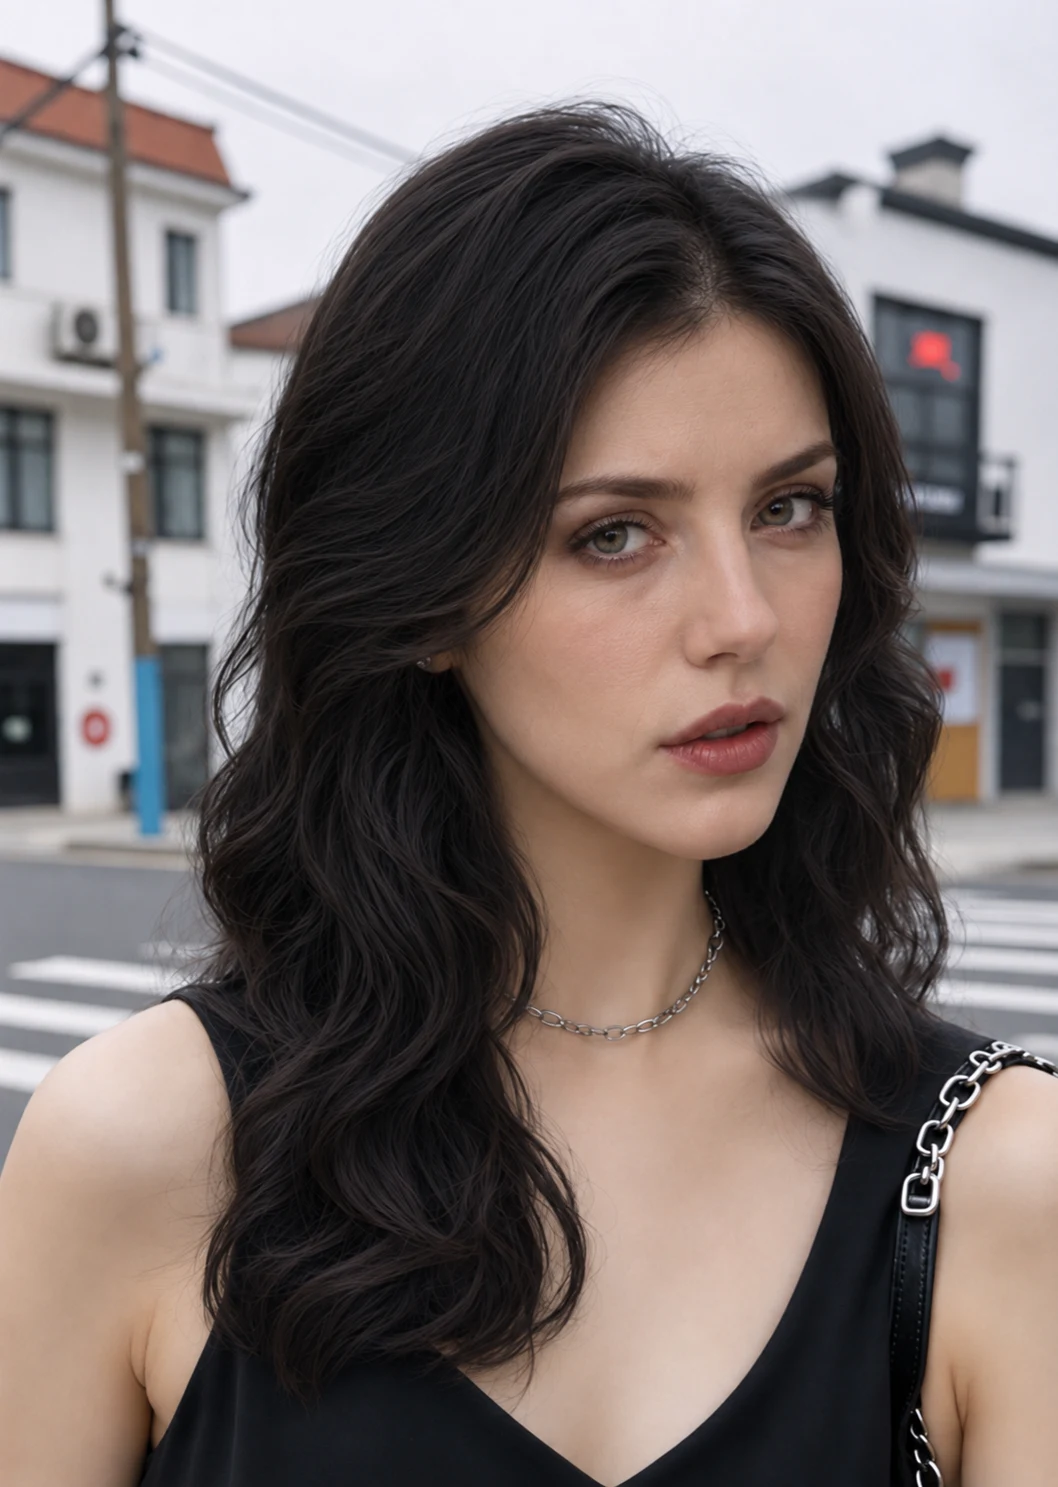
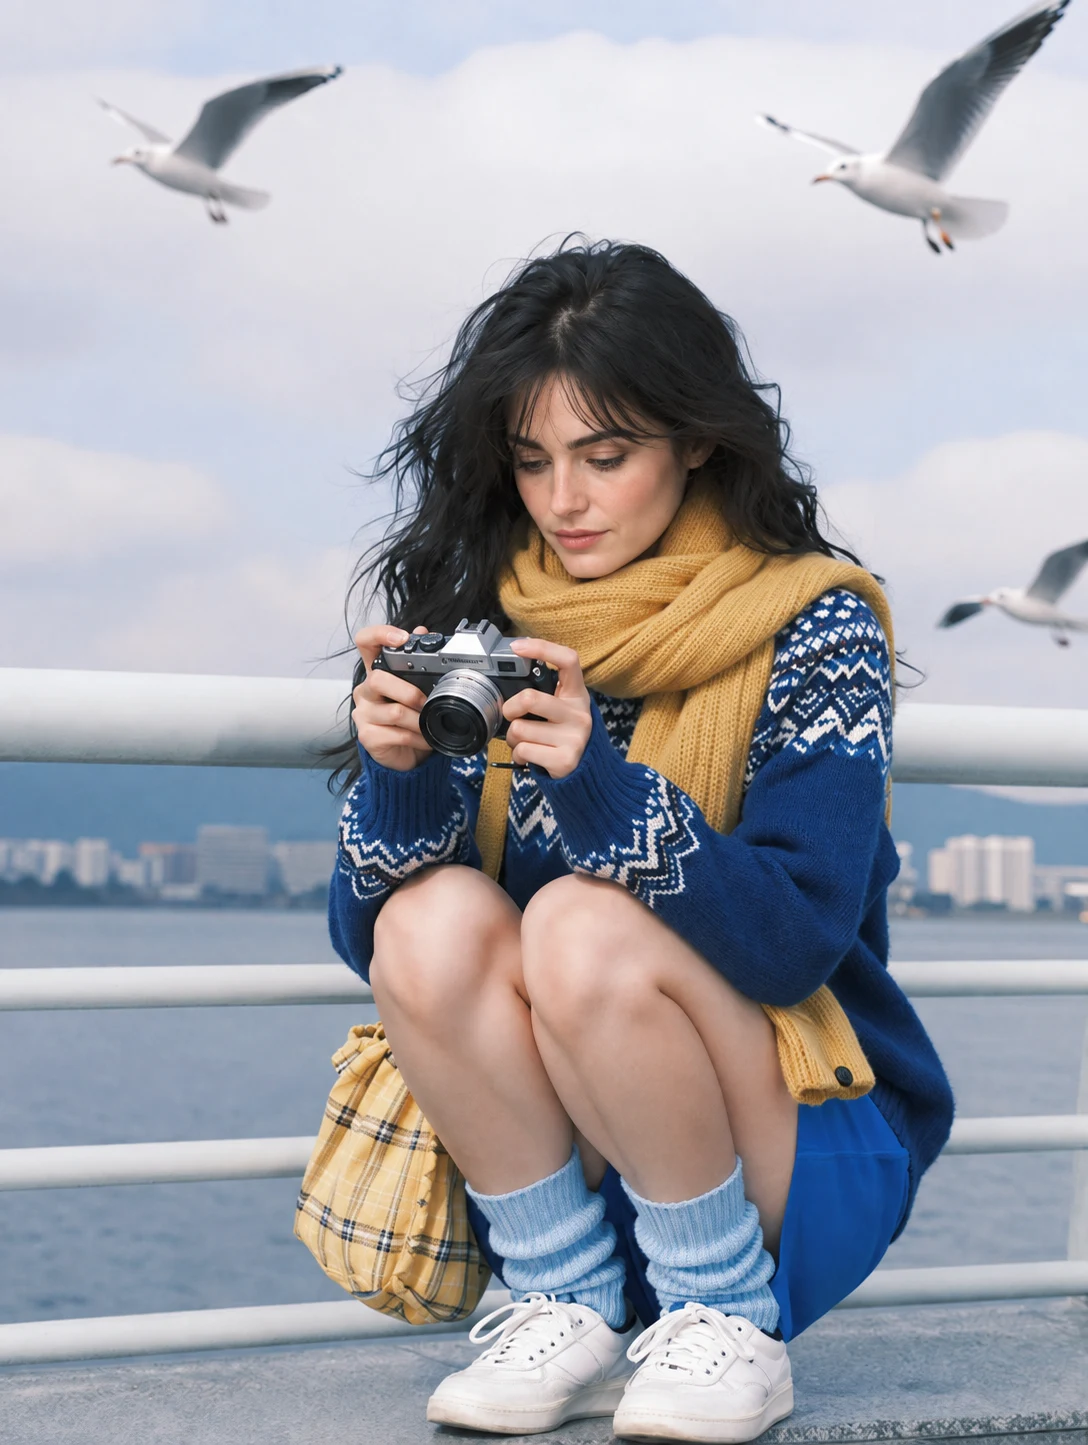
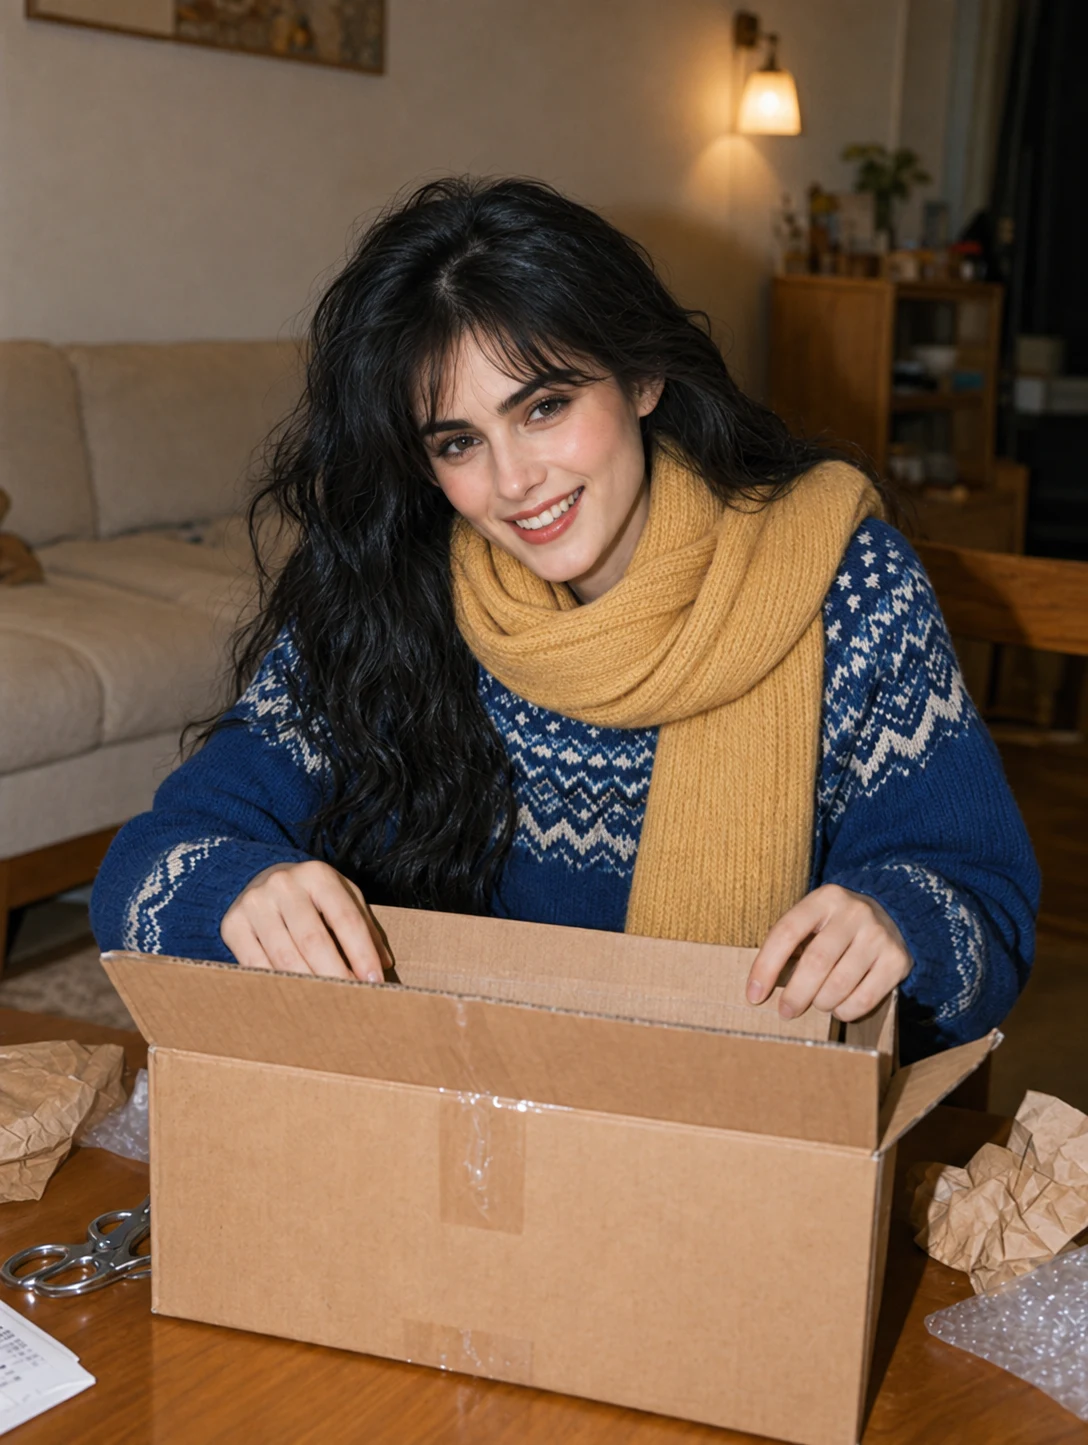
Compare facial proportions, hairline, accessories, and clothing details across versions. A subject can look broadly similar while small identifying features drift. Choose the result based on the details that matter to the project.
Turn an everyday product photo into a scene concept
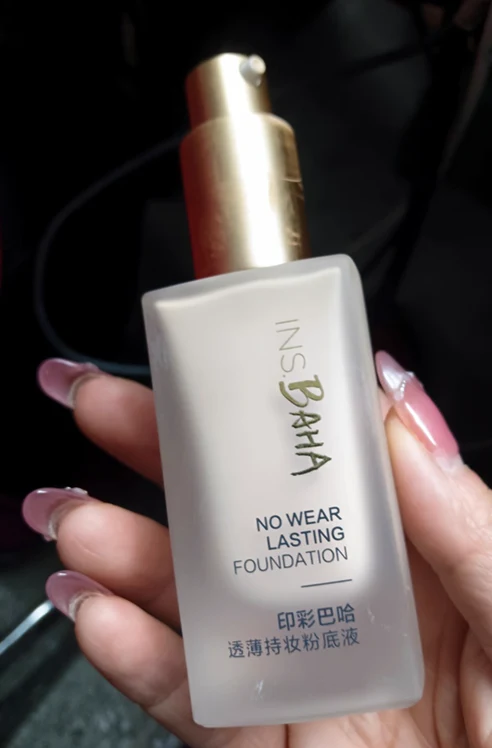

The bottle example demonstrates how much a setting changes the mood of an image. The reference establishes the product, while daylight, linen, and tabletop objects establish the new scene. Product shape, label wording, and packaging color need their own review before a concept is used as a final asset.
Explore wider scenes and connected stories
A single reference can also become the starting point for a larger composition. The panorama example expands the view around a selfie, while the storyboard example follows one character through several moments.
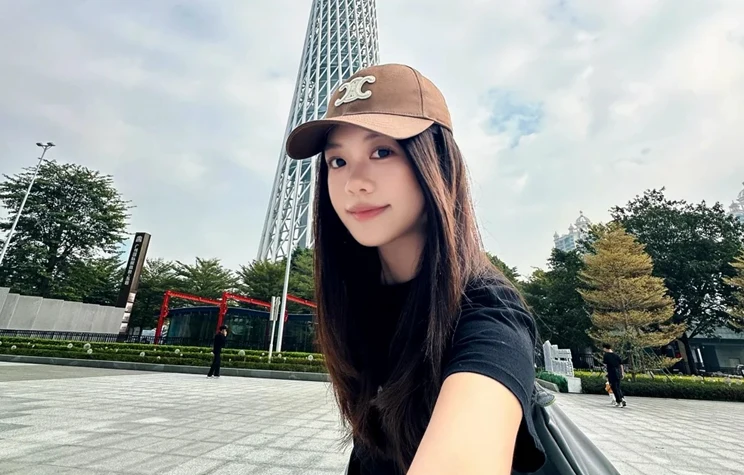
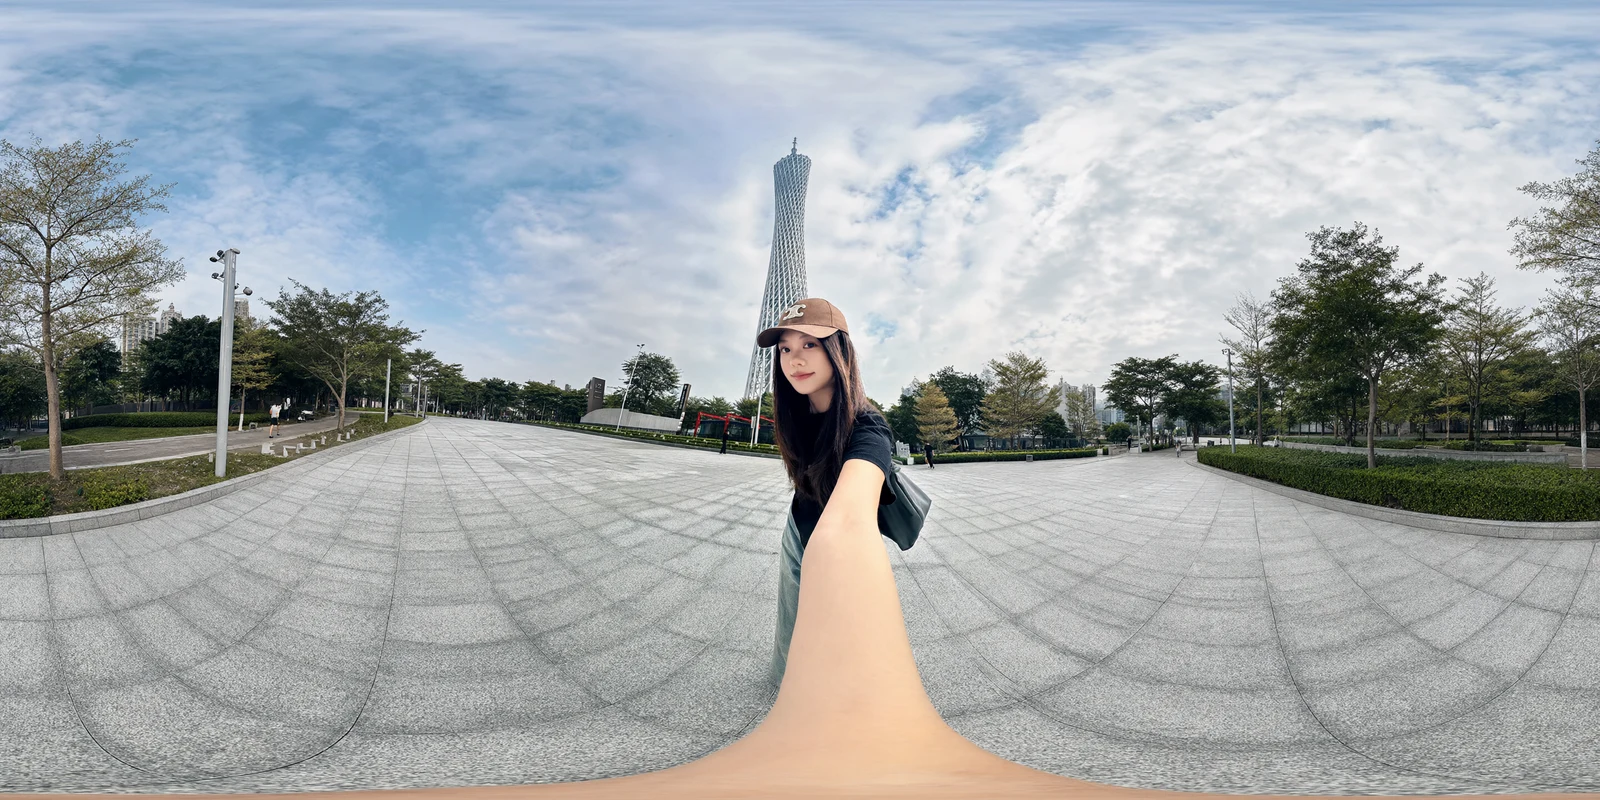
For a wide view, inspect the horizon, repeated structures, and edges of the frame. The goal is spatial continuity: the image should read as one place even as the viewing direction changes.
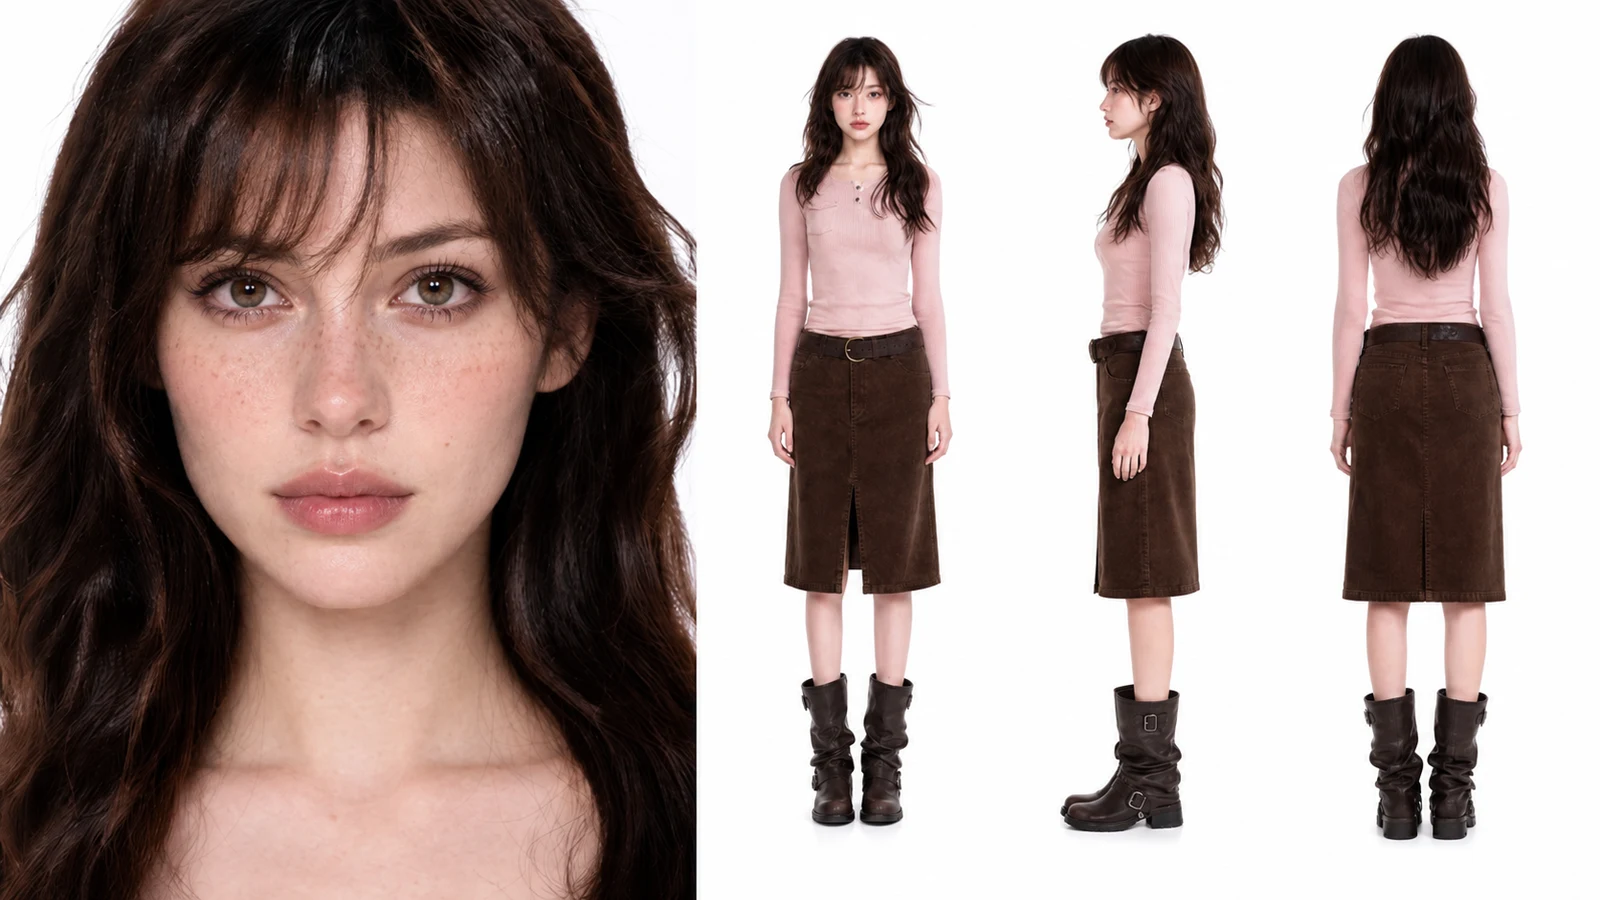
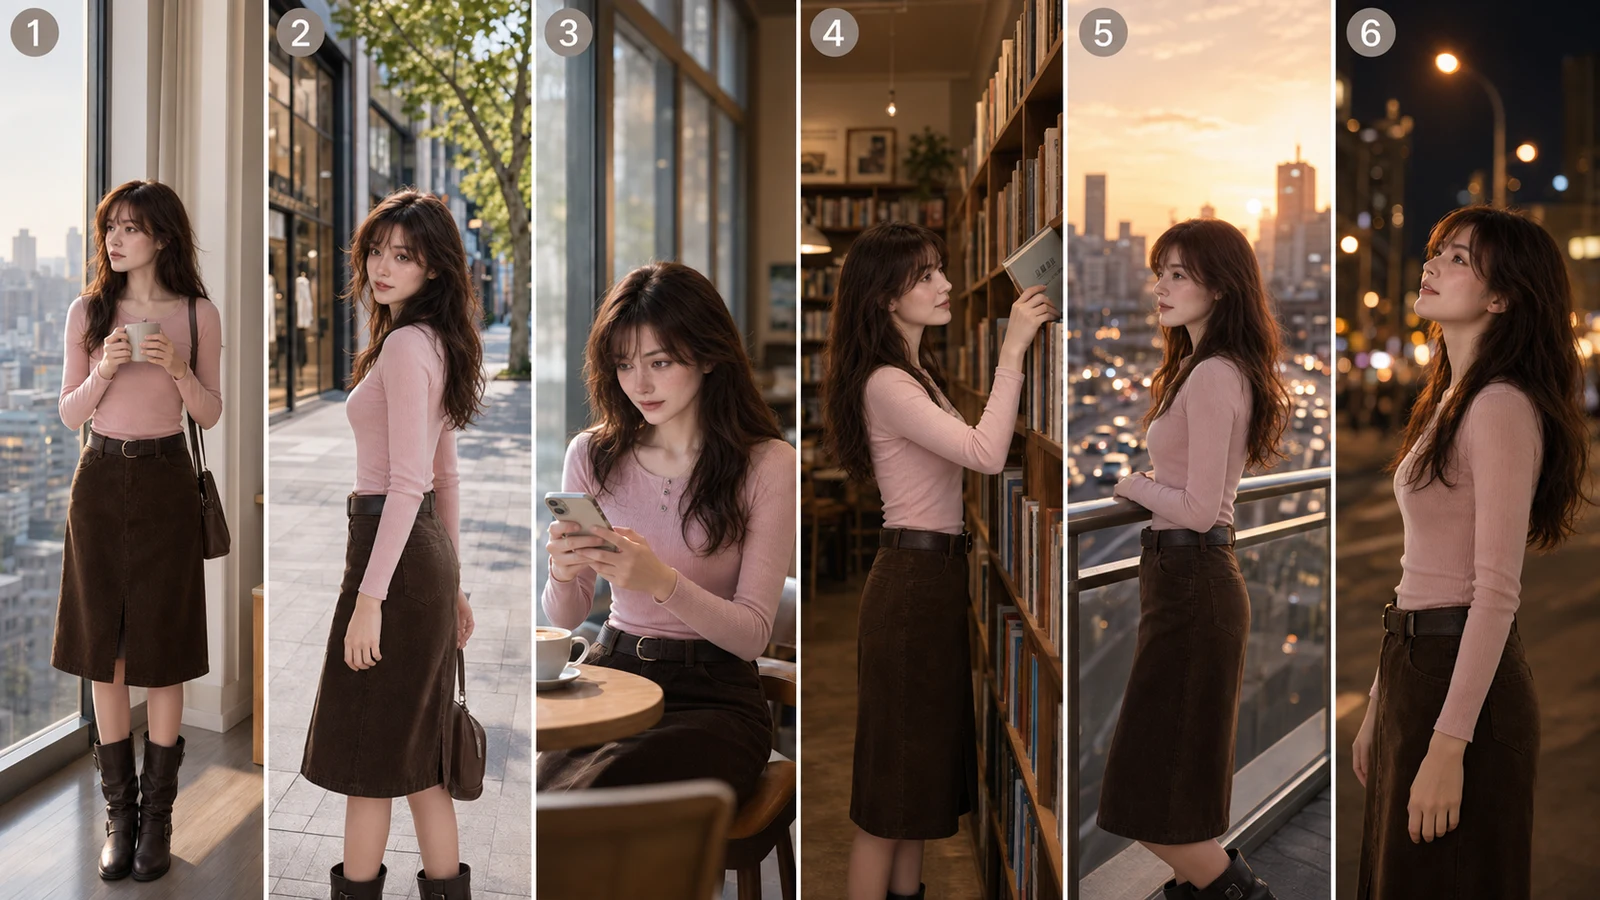
For a sequence, define what remains fixed across frames and what advances: clothing and identity may stay consistent while action, location, and light change. This makes the series easier to evaluate than six unrelated prompts.
Text, layouts, and natural image detail
Beyond editing, the supplied collection includes information-dense designs and photographic scenes. These ask for different kinds of review. A diagram depends on labels and relationships; a portrait depends on anatomy, texture, light, and expression.
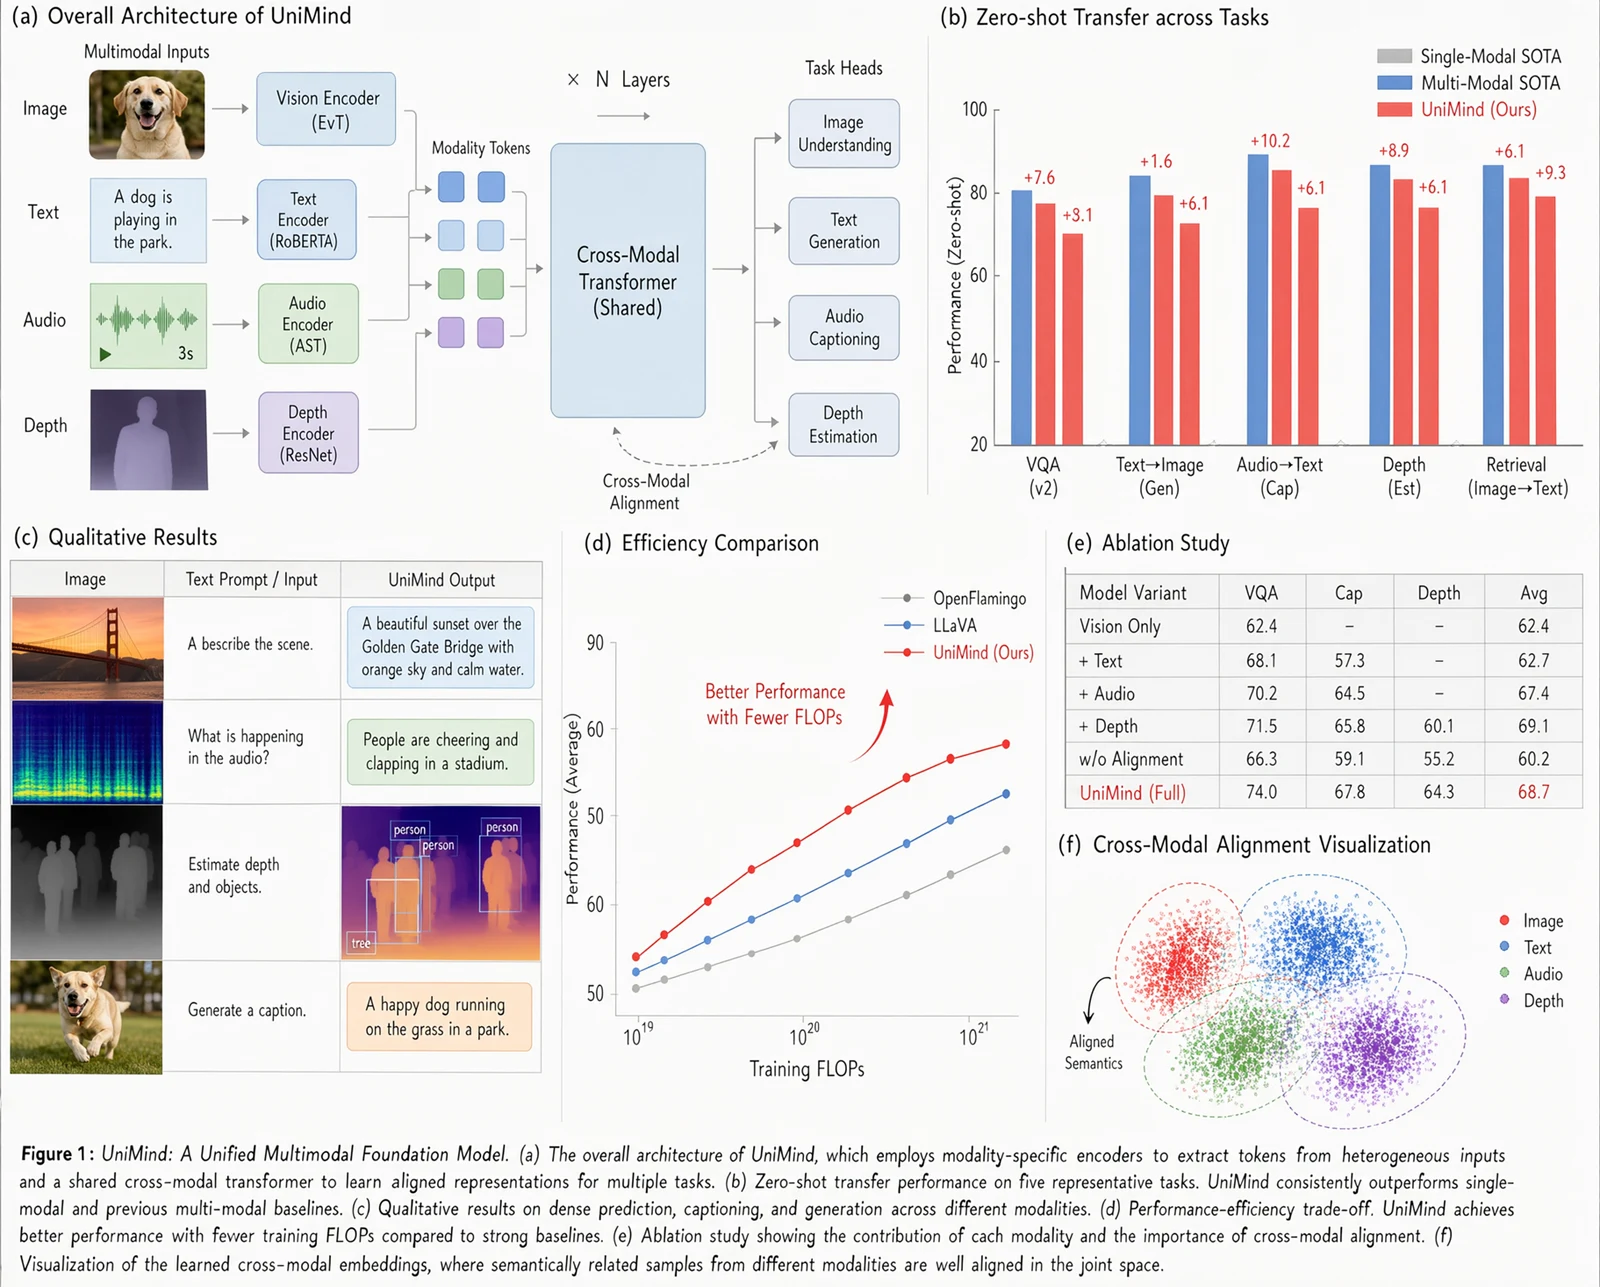
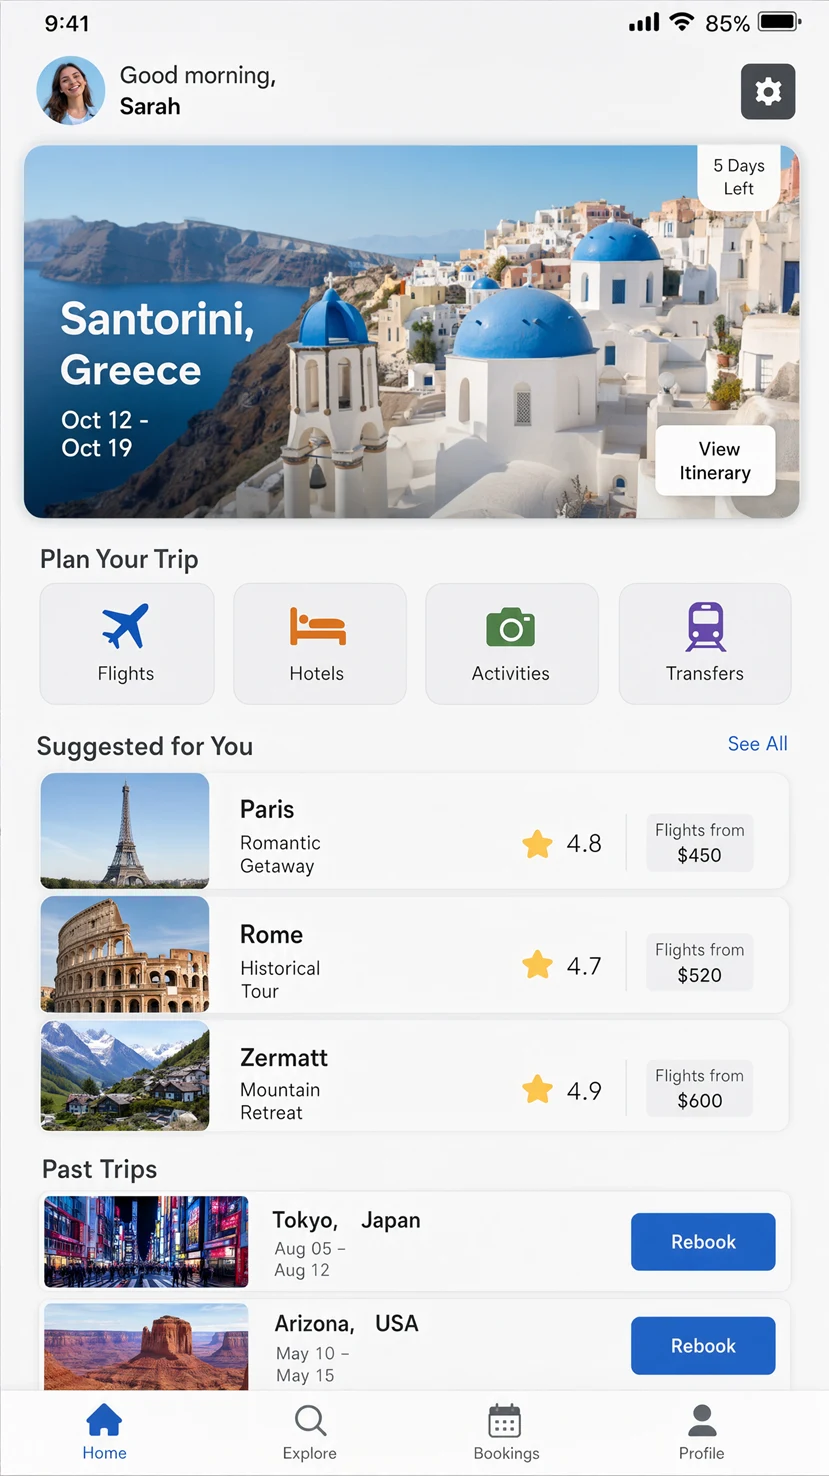
In information graphics, spell out the exact copy and reading order. Treat a generated chart as an image to inspect, not as a source of facts. Likewise, a rendered application screen can communicate a visual concept but does not provide the underlying interaction or code.
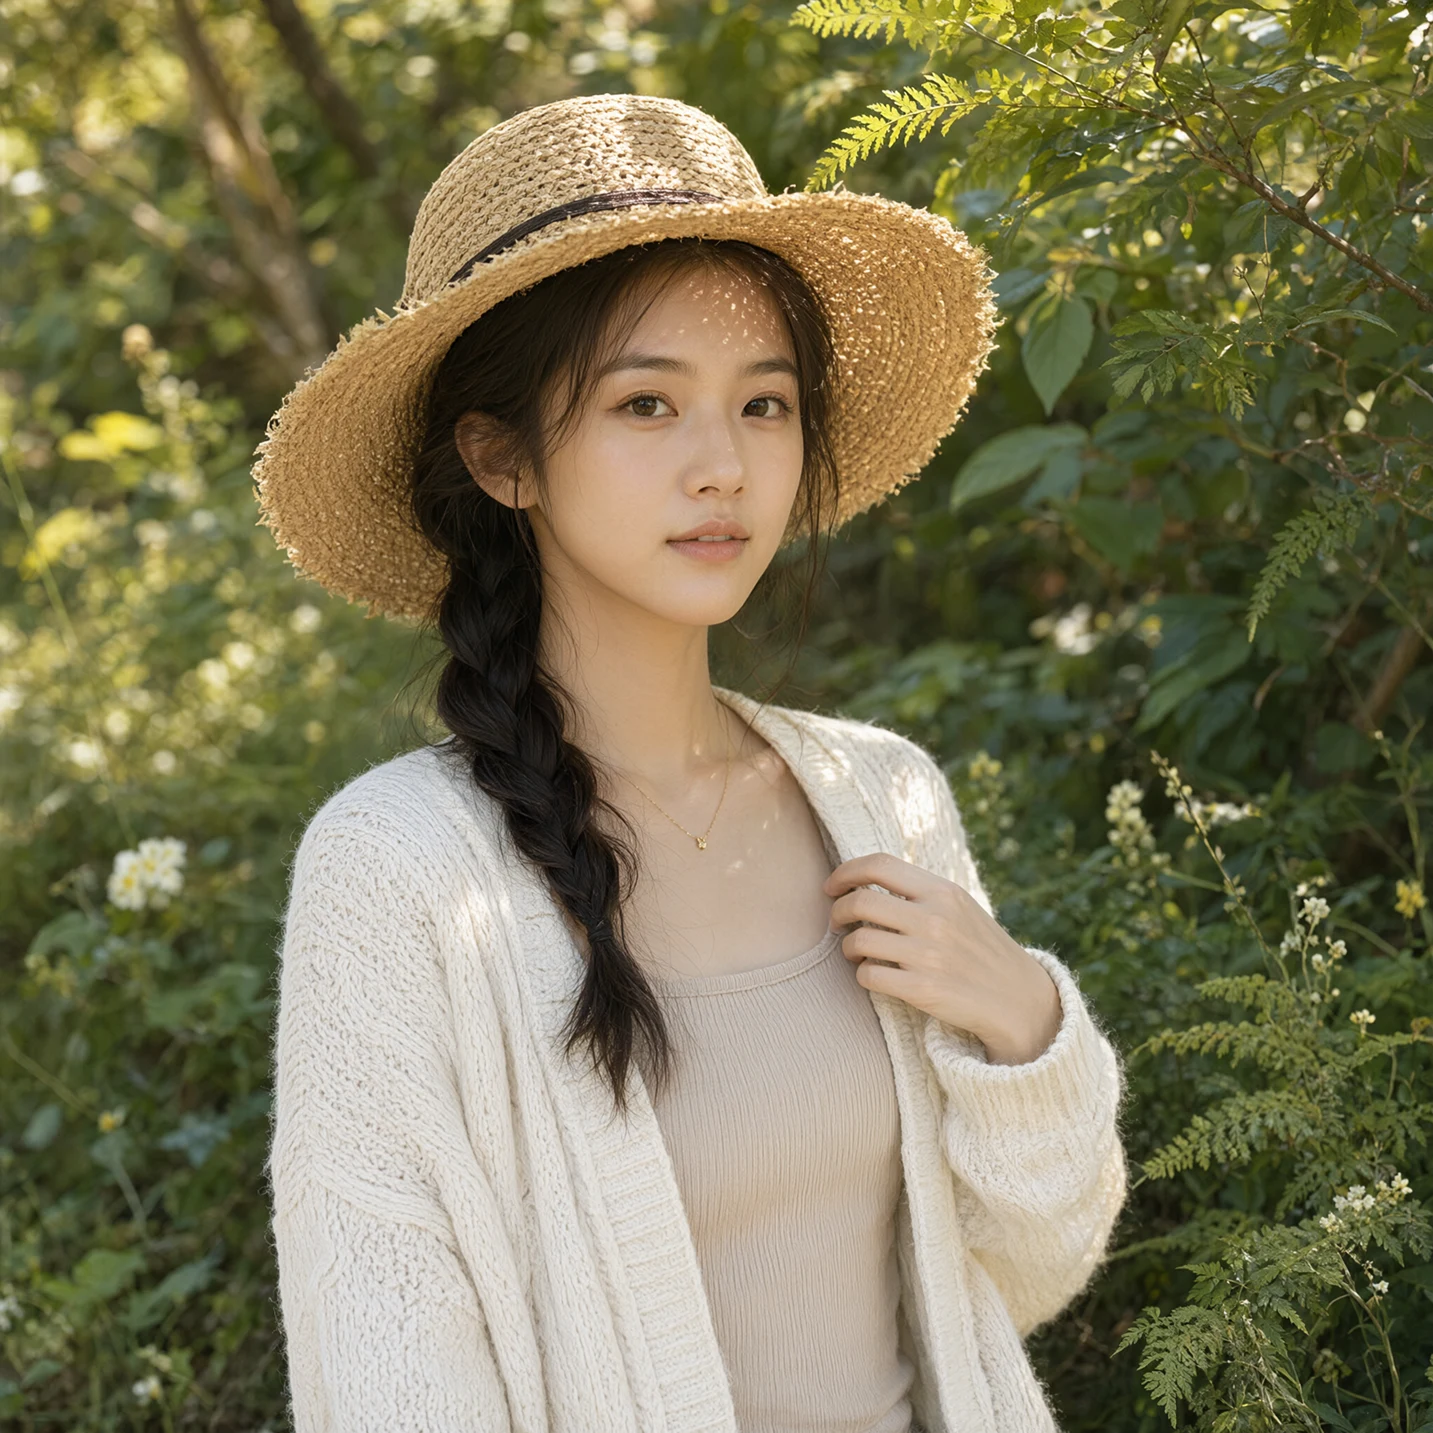
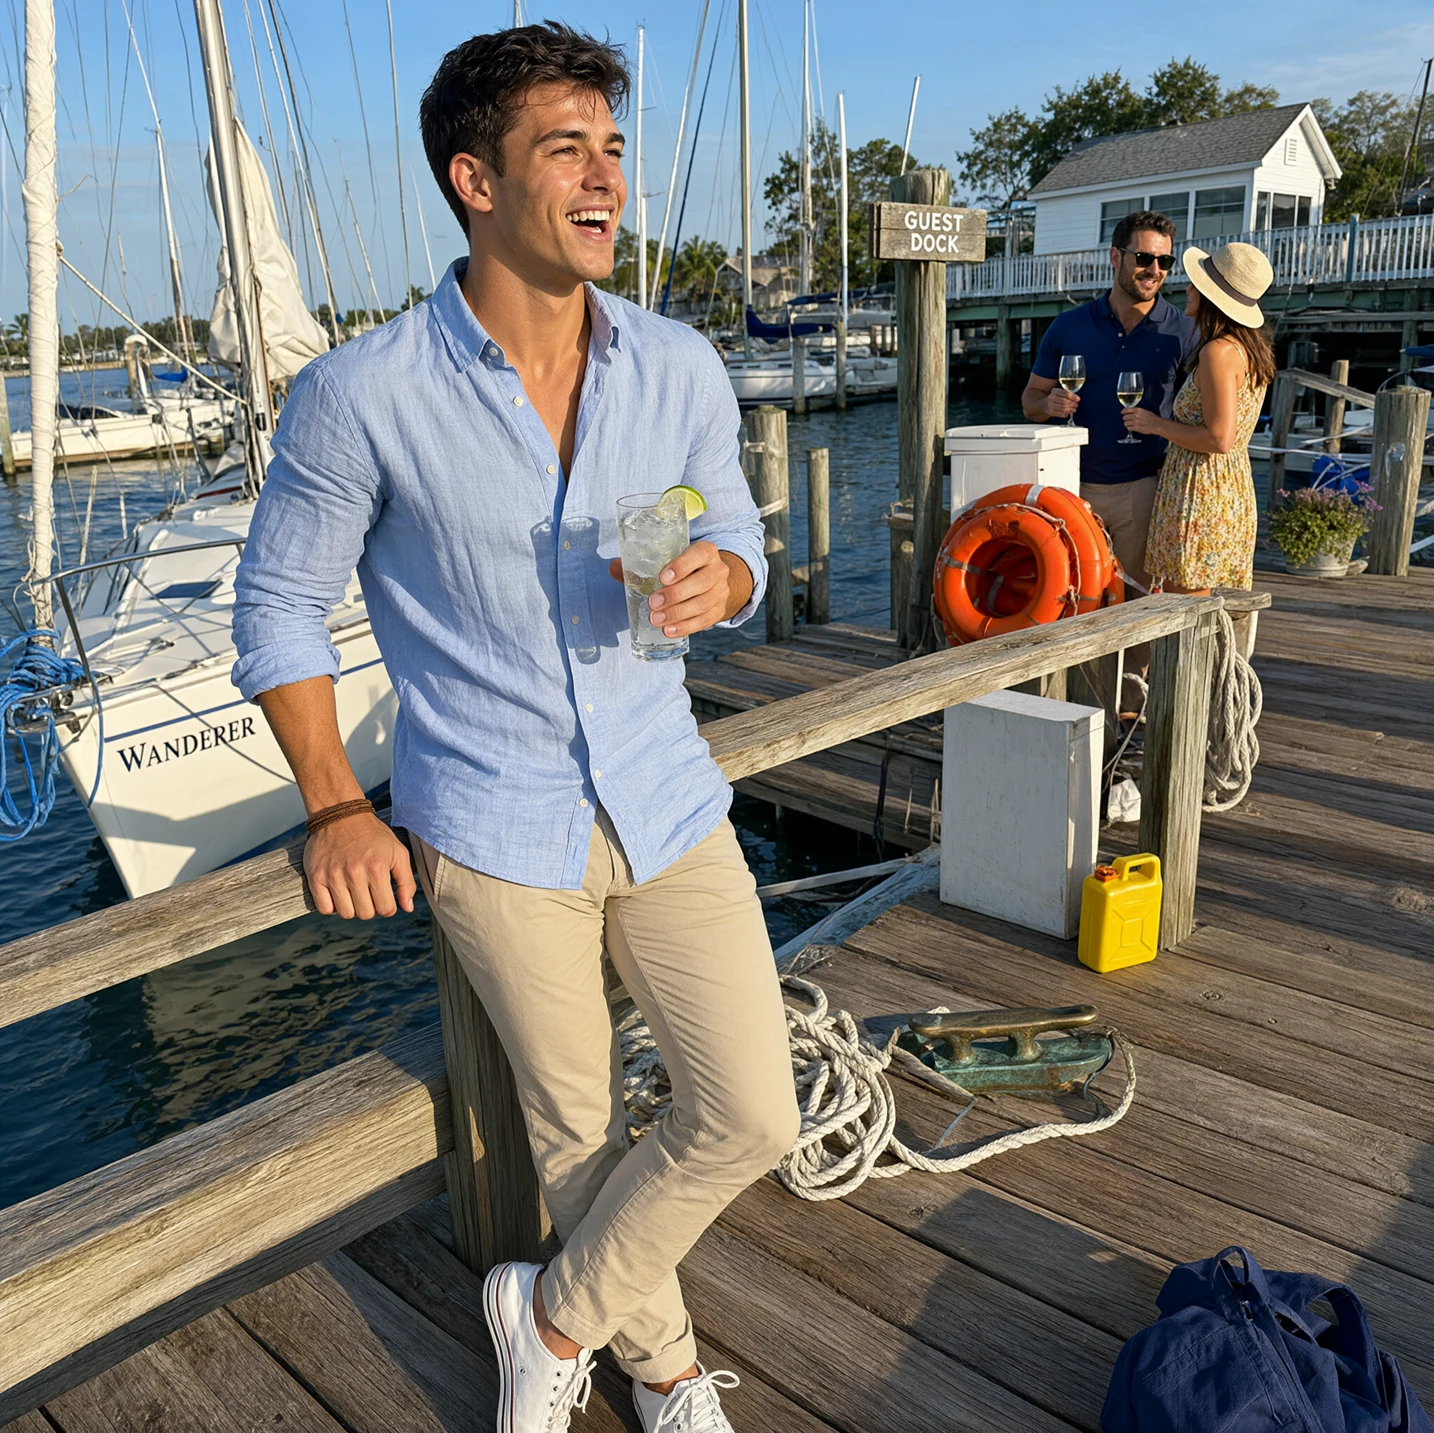
Photographic examples are best inspected at full size. Look at the transition between hair and background, the direction of shadows, the handling of fabric, and the geometry of objects. A pleasing overall impression and a reliable final image are separate things.
A practical way to approach your first edit
- Start with a clear goal. Choose one task: create a new image, combine references, isolate a subject, or change a region.
- Assign each reference a job. Specify which image supplies the person, object, clothing, composition, or visual style.
- Describe the change precisely. Name the target and the result, then say what should stay unchanged. The prompt-writing guide offers reusable structures for these instructions.
- Review at the intended size. Read labels, compare identities, inspect edges, and check the composition.
- Refine one issue at a time. Keep a useful result as an anchor and make the next instruction specific.
For example: “Keep the bottle shape, cap, and label unchanged. Place it upright on a pale wooden table beside a folded linen cloth. Use soft morning light from the left and leave clear space above the bottle.” This is an illustrative prompt, not the recorded prompt behind a supplied example.
Where to access Qwen Image 2.1
For a walkthrough of the tools already available here, follow the Qwen Image 3.0 usage guide. It explains the shared workspace; the selected model determines which capabilities you can use.
The model has been released, with official weights on Hugging Face and implementation instructions on GitHub. The repository links to Diffusers and ComfyUI workflows and identifies the license as the Qwen Research License Agreement.
Coming soon on QwenImage3.app. The Qwen Image 2.1 tool page currently includes our shared generator with available models. Check the model selector before generating. The examples in this guide do not imply that 2.1 is already connected.
Sources and further reading
- Qwen’s official release announcement
- Official repository and usage guide
- Model license
- Kie.ai’s overview provides earlier release context; its pre-release availability statements have been superseded by the official release.